

This blog is a help to configure the fixer configuration for Magento 2 The
Fixer Currency Exchange for Magento 2 can be configured to update exchange rates automatically on a schedule that you define, or you can manually
update exchange rates as needed. merchants who sell products or services to customers in different countries and need to display prices in multiple
currencies. Then the fixer is easily solved this problem .
Fixer Currency Exchange is a Magento 2 extension that allows you to
integrate the Fixer.io API with your Magento 2 store. Fixer.io is a currency conversion API that provides up-to-date currency exchange rates for a
variety of currencies.
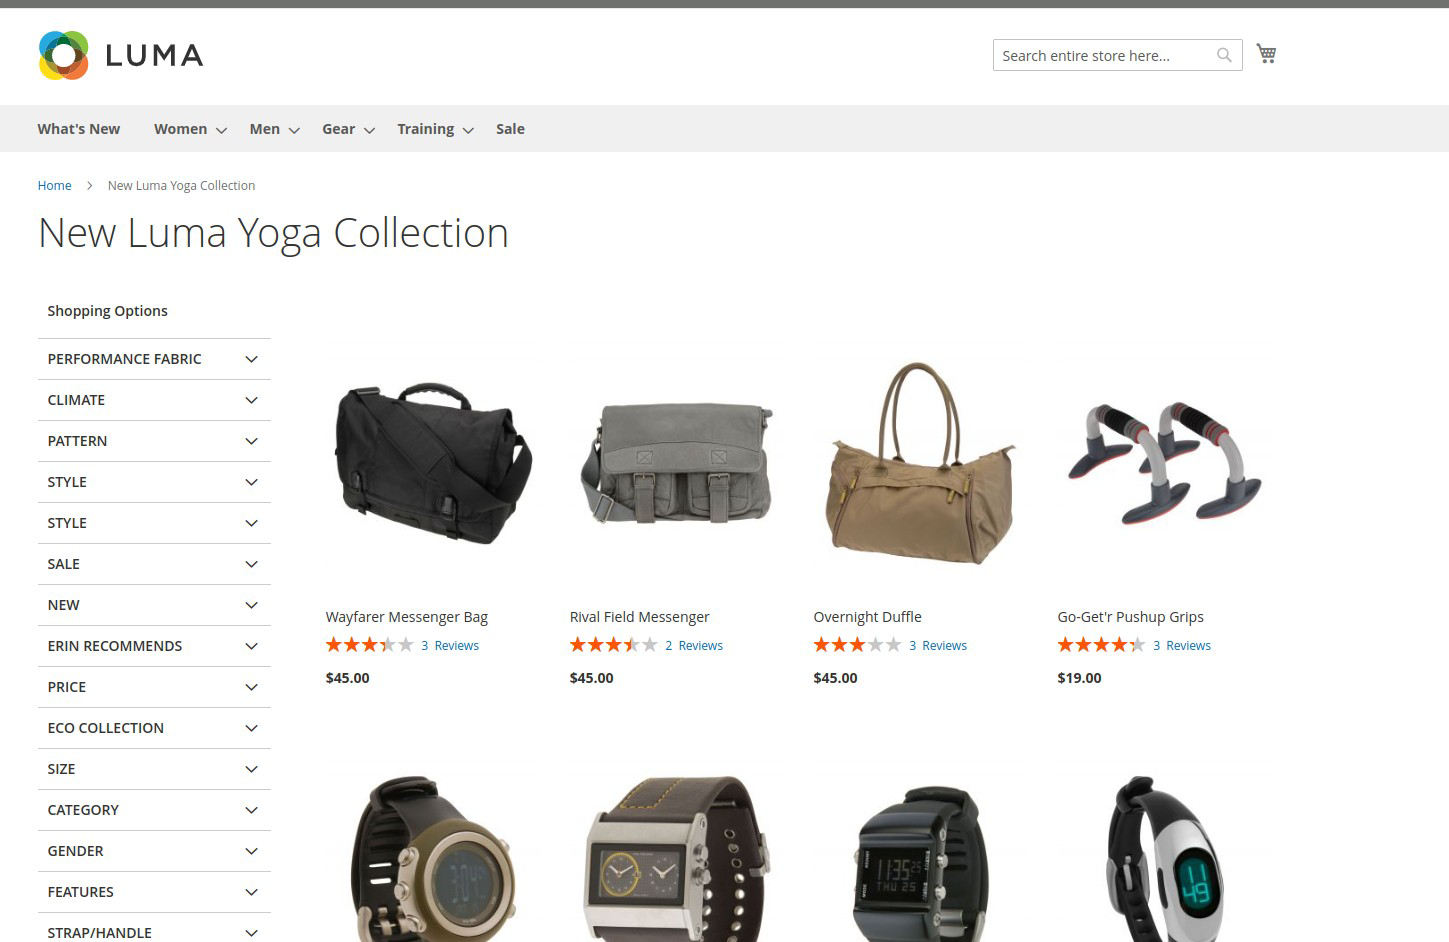
Example Before fixer.io
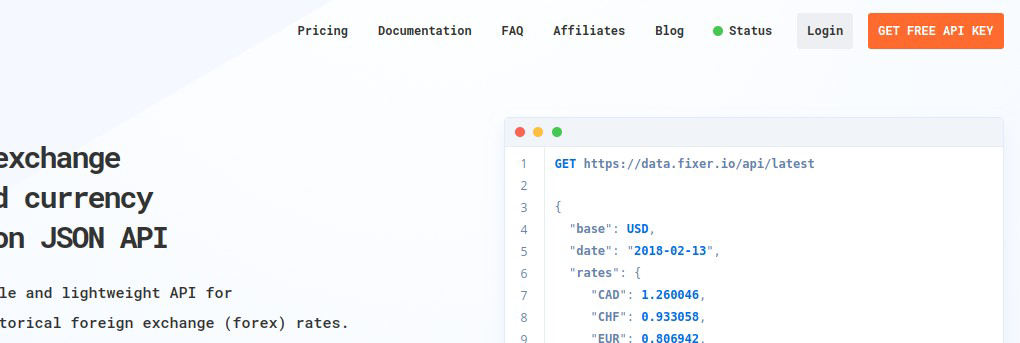
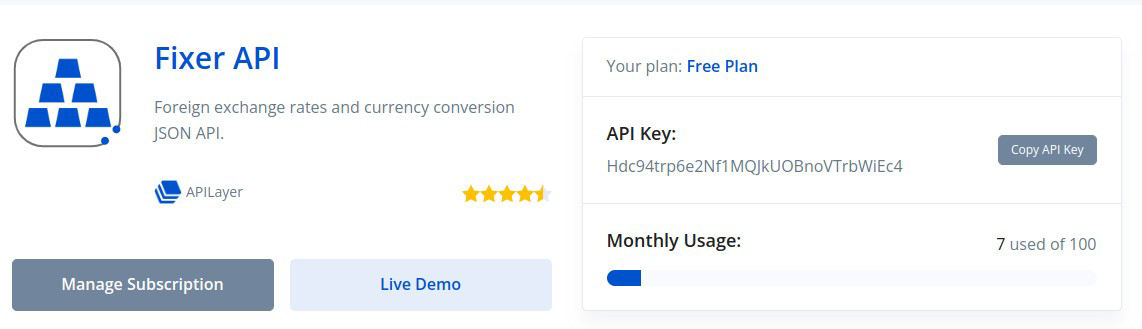
First we Neep to Generete the Api Key of Fixer.io
You can generate a Fixer.io API key by following these steps:
Step 1: Go to the https://fixer.io/ website and sign up for a free account.
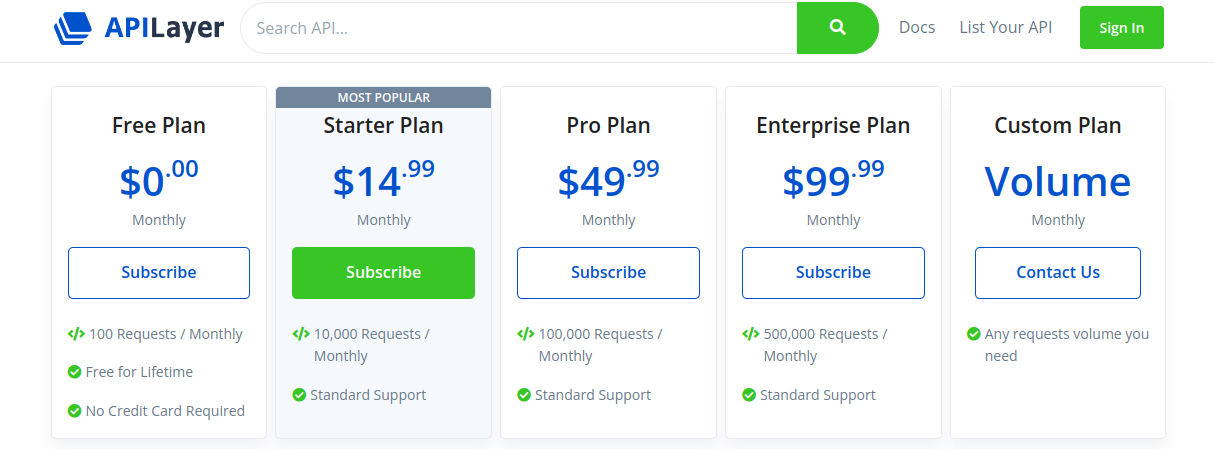
Step 2. Click on GET FREE API KEY. And This Page Choose the Plan according your Usages.
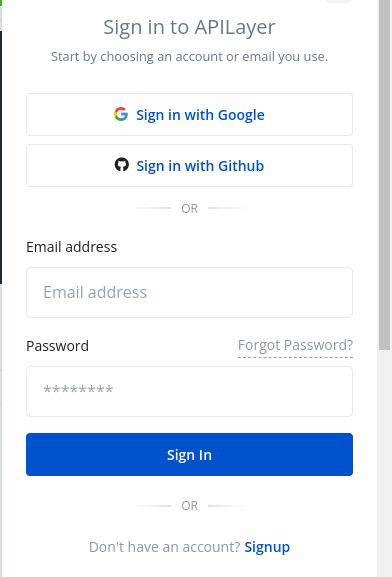
Step 3 Sign In or Sign Up .
Step 4 Now your Api Key is Ready for Use .
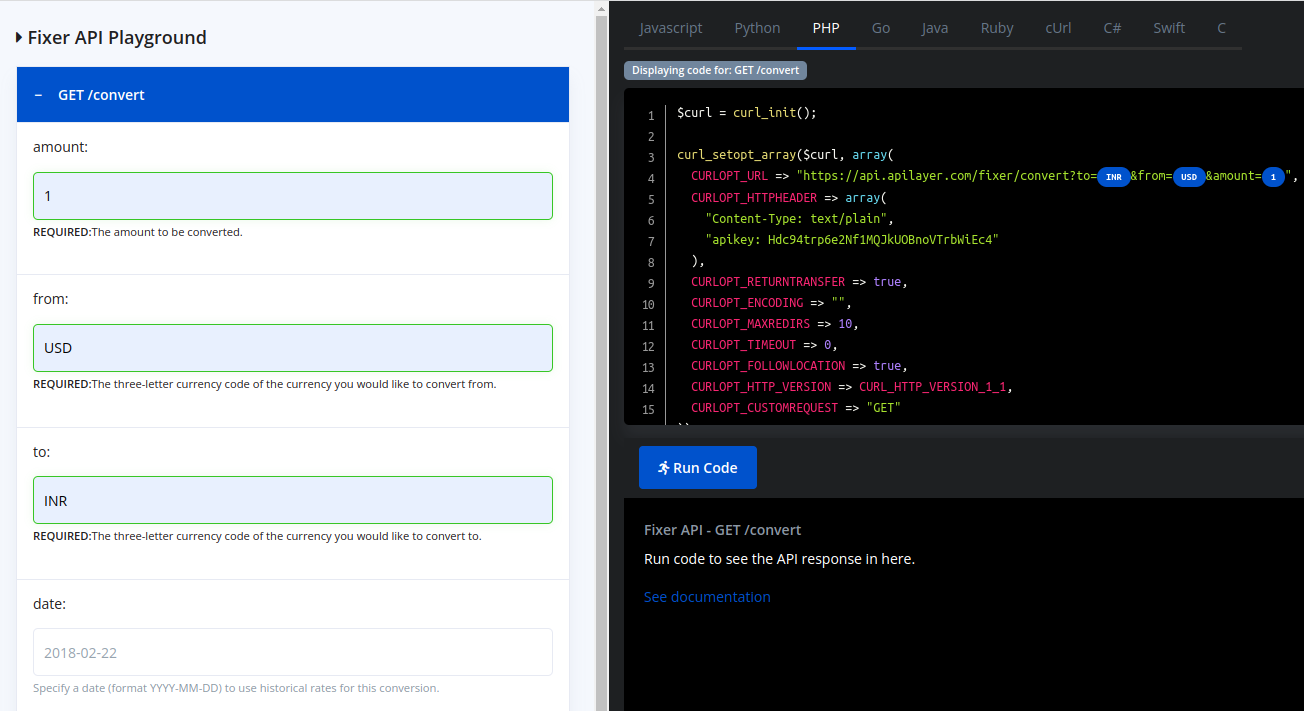
Live Demo
Here you can check the Live Demo for any any country Price Convert .
Now Go To Magento 2 Admin panel to Enter the fixer.io Api Key
Location : Store >> Configuration >> General >> Currency Setup .

Put the ApI Key Now Your Currency Exchange fixer.io is Ready to Use In Magento 2.
Go To : Store >> Currency Rates to Check the manually Currency Rate .
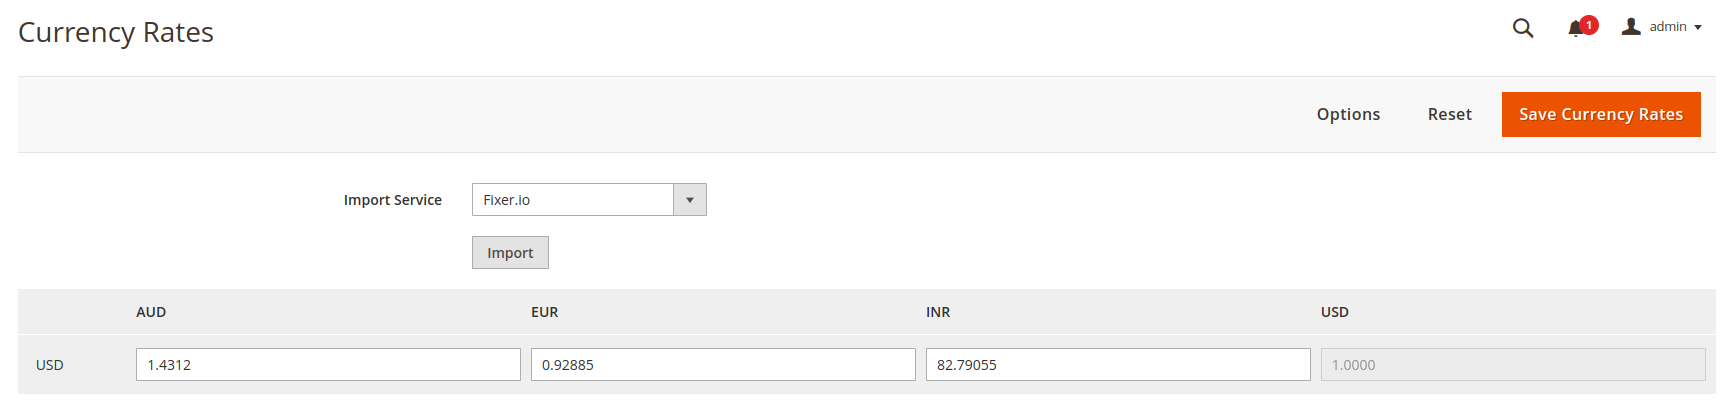
Now You So the Current Currency Rate of The Currencyes
If You Want to Sheadule Import . The Setup Currency Value Fixer.io .
Step1-> Go to the sidebar and click on the “STORES” option.
Step2-> Click on Settings >> Configuration”.
Step3-> Expand the << General tab >> and then click on the <
Step4-> Select the <

Step5-> Enable the auto-update feature by selecting “Yes” or disable it by selecting “No”.
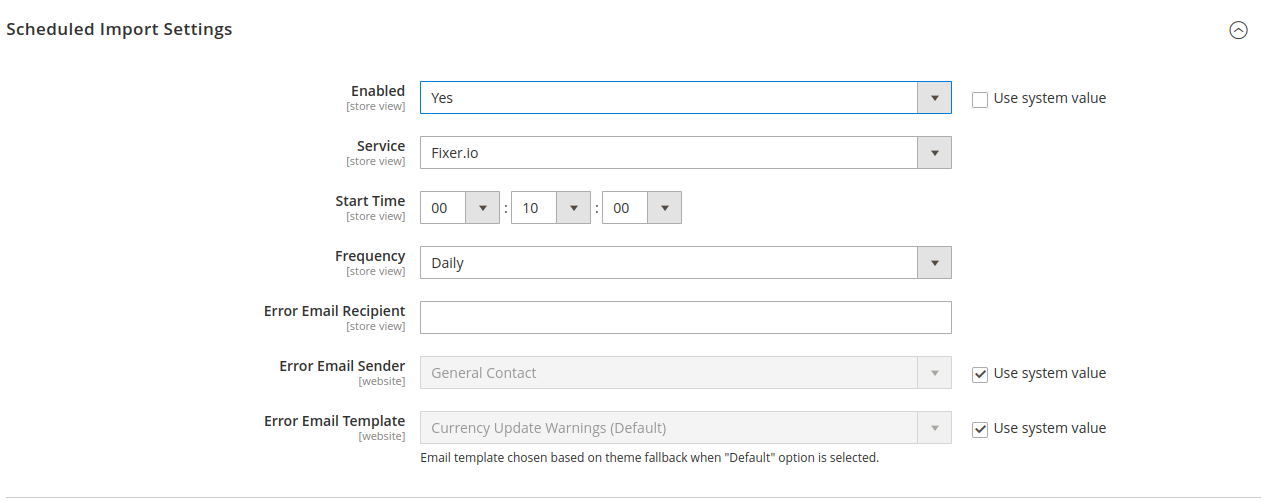
Step6-> Set the time in hours, minutes, and seconds that the rates will be updated after by selecting the “Start Time”.
Step7-> Select the update frequency from the dropdown menu –
Daily, Weekly, or Monthly.
Step 8 -> Once you are done with the configuration, click on the “Save Config” button.
Now just flush the cache using below commands.
sudo php bin/magento cache:clean
sudo php bin/magento cache:flush
Screenshot after applied fixer.io

Rupees

Euro


bluethinkinc_blog
2023-09-13