Creating a custom module in Spryker Backoffice can help you tailor the platform to your unique business needs. Follow this guide to efficiently set up and implement your custom functionality.
- Prerequisites
- Spryker is installed and running locally.
- Your IDE or terminal has access to the vendor/bin/console command.
- You have sufficient knowledge of your module requirements (e.g., what data it will handle and what features it will provide).
- Install Code Generator
- code:generate:module
- code:generate:controller
- code:generate:facade
- code:generate:template
- code:generate:transfer
- code:generate:table
- Plan the Module
- Module Name: For example, BluethinkInc.
- Namespace: Spryker modules typically reside in the src/Pyz/Zed/ or src/Pyz/Glue/ directory.
- Features: What functionality your module will provide in the Backoffice.
- Use Code Generator
- Organization: Enter Pyz (default for project-specific modules).
- Module Name: Enter your desired module name (e.g., BluethinkInc).
- Layer: Enter Zed (since you’re building for the Backoffice).
- Application: Enter Zed.
Ensure the following:
If not, to install Spryker please visit : Install Spryker
Spryker provides the spryker/code-generator package, which can be installed via Composer.
A. Add the Code Generator Package
Run the following command:
|
1 |
composer require --dev spryker/code-generator |
B. Add Custom Configuration
Update file : your-spryker-project/src/Pyz/Zed/Console/ConsoleDependencyProvider.php
Add below code
|
1 2 3 4 5 |
use Spryker\Zed\CodeGenerator\Communication\Console\BundleClientCodeGeneratorConsole; use Spryker\Zed\CodeGenerator\Communication\Console\BundleCodeGeneratorConsole; use Spryker\Zed\CodeGenerator\Communication\Console\BundleSharedCodeGeneratorConsole; use Spryker\Zed\CodeGenerator\Communication\Console\BundleYvesCodeGeneratorConsole; use Spryker\Zed\CodeGenerator\Communication\Console\BundleZedCodeGeneratorConsole; |

|
1 2 3 4 5 |
$commands[] = new BundleCodeGeneratorConsole(); $commands[] = new BundleYvesCodeGeneratorConsole(); $commands[] = new BundleZedCodeGeneratorConsole(); $commands[] = new BundleClientCodeGeneratorConsole(); $commands[] = new BundleSharedCodeGeneratorConsole(); |

C.Verify Installation
After installation, verify that the code generator commands are available. Run:
|
1 2 3 |
docker/sdk cli vendor/bin/console transfer:generate vendor/bin/console |

Look for commands like:
Determine:
Spryker provides commands to generate modules and components. Here’s how to use them:
A.Generate a Module
Run the following command under your project directory
|
1 2 |
docker/sdk cli console code:generate:module:zed BluethinkInc |
The console will ask for:
This will create the basic structure for your module under src/Pyz/Zed/BluethinkInc/.
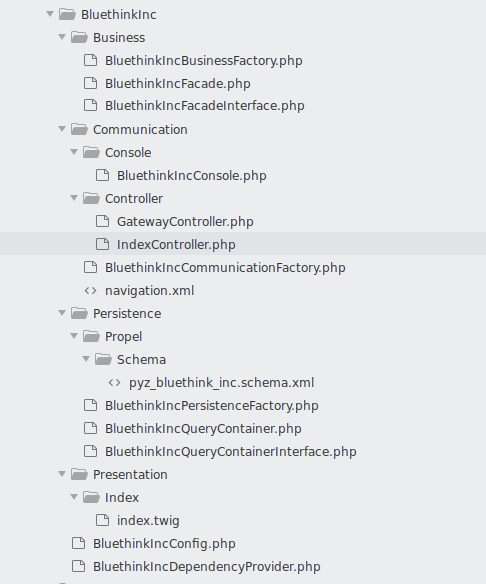
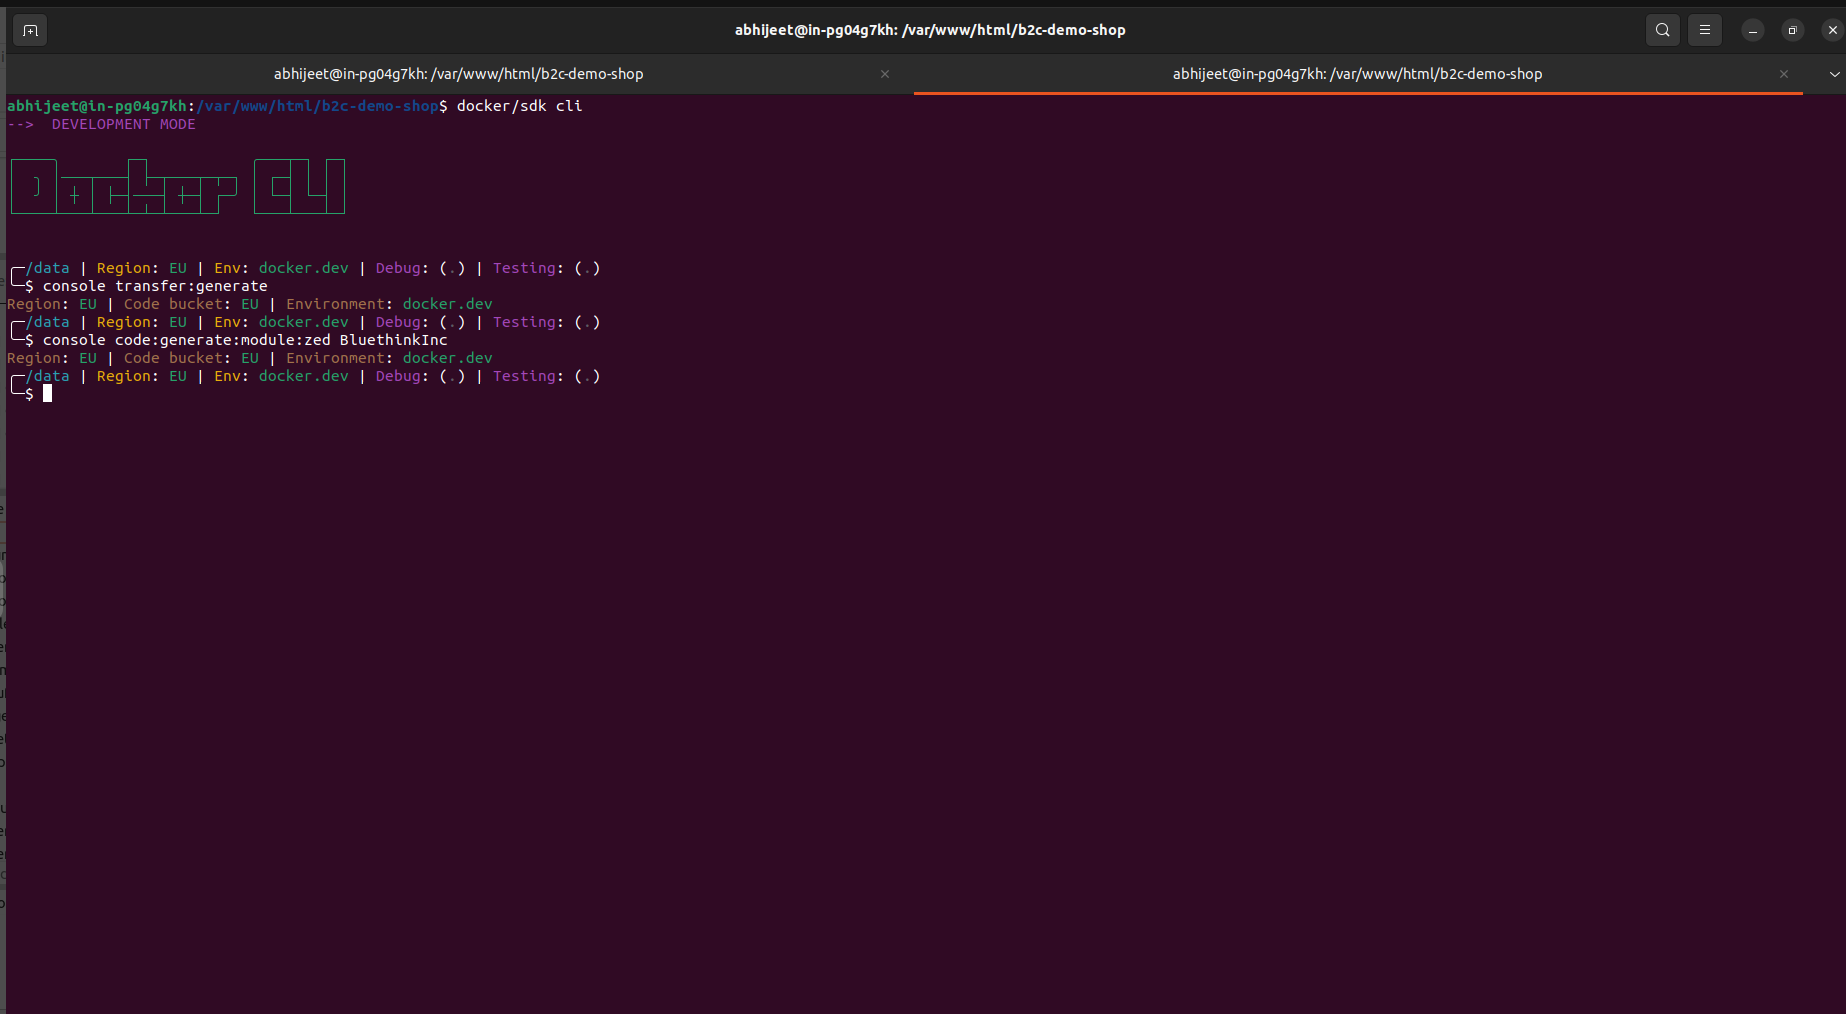
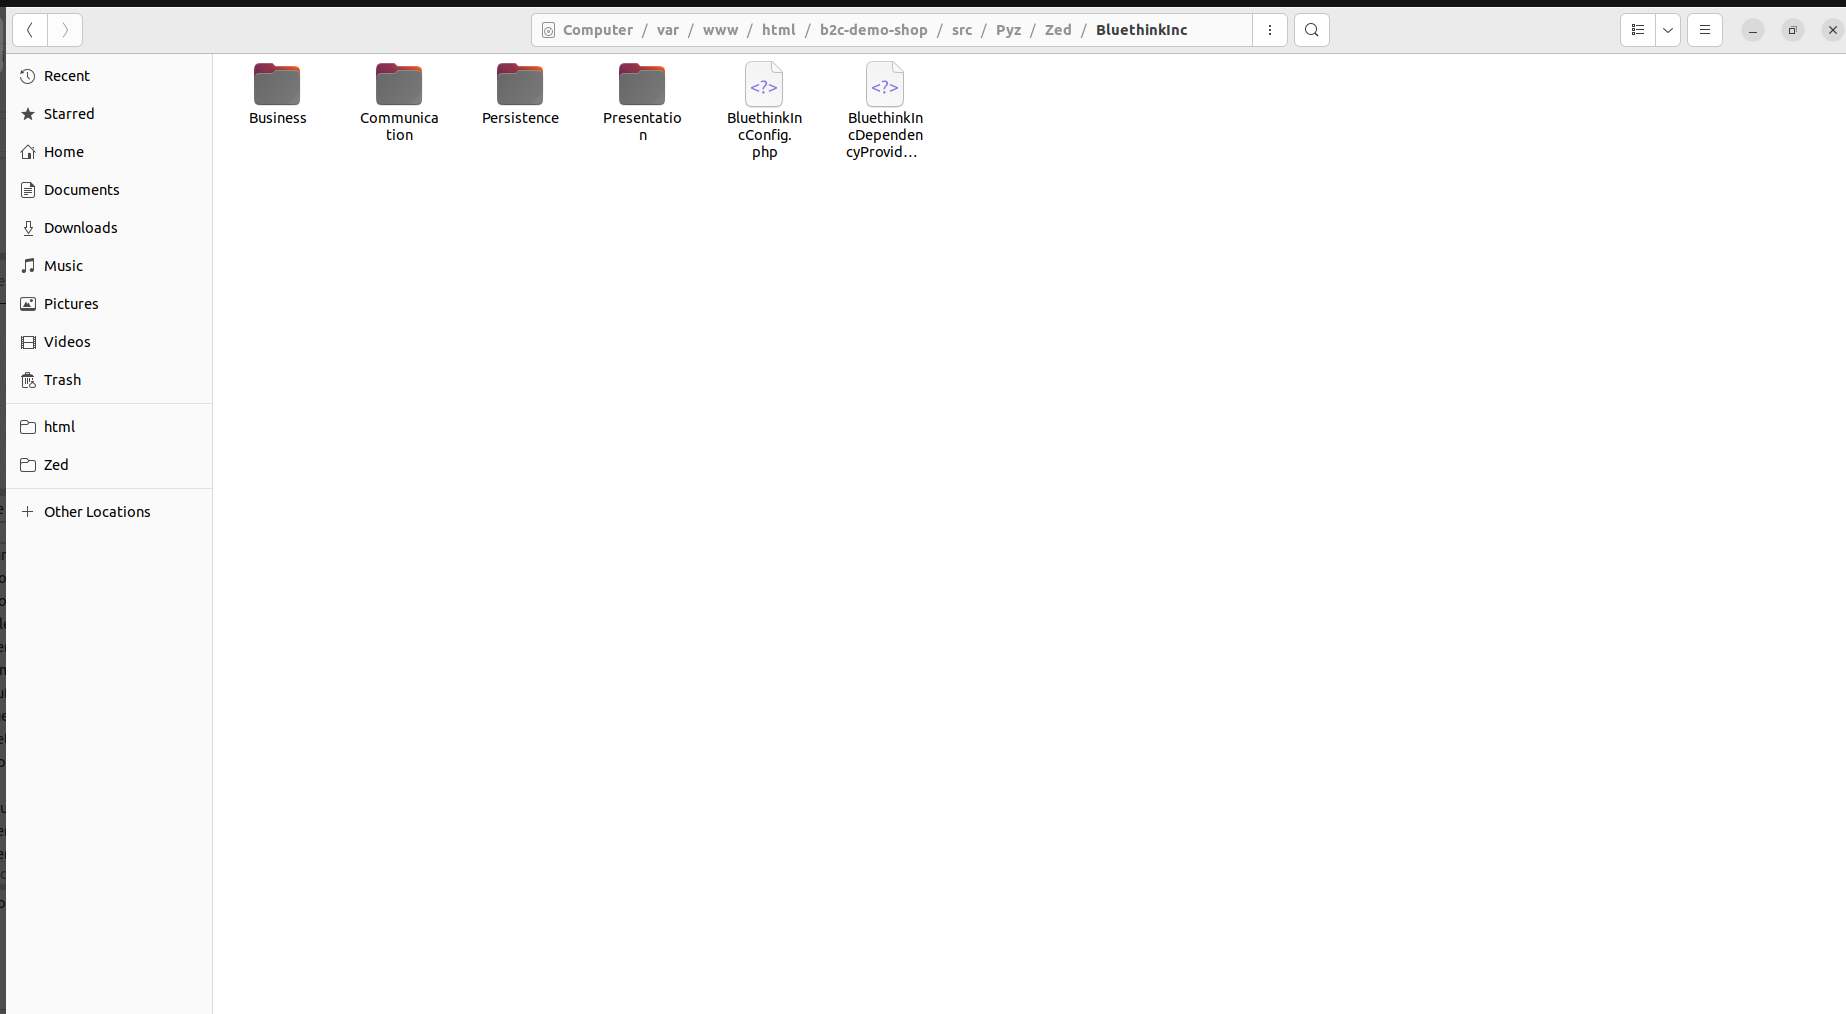
file path here now file is generated
your-spryker-project/src/Pyz/Zed/BluethinkInc/
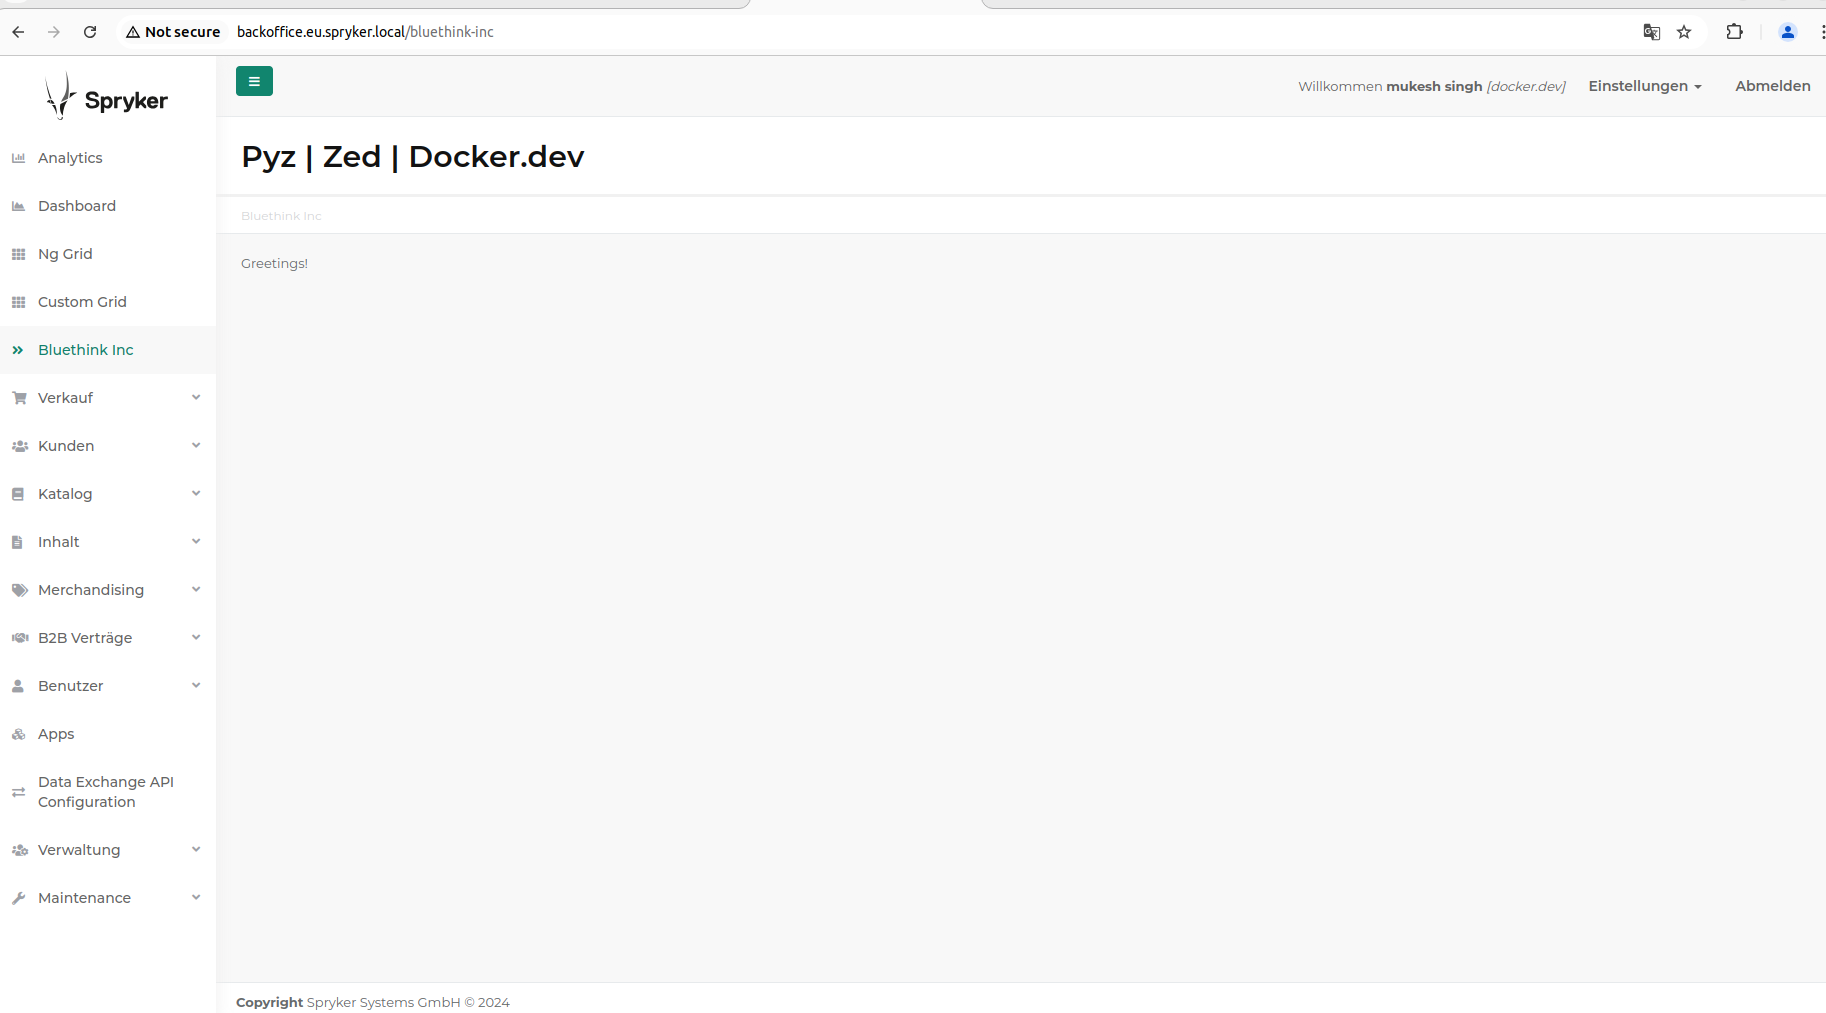
menu code generated you custom module path this
your-spryker-project/src/Pyz/Zed/BluethinkInc/Communication/navigation.xml
if you need add menu on backofficr go this file path
your-spryker-project/config/Zed/navigation.xml
and add this code
|
1 2 3 4 5 6 7 |
<bluethink-inc> <label>Bluethink Inc</label> <title>Bluethink Inc</title> <bundle>bluethink-inc</bundle> <controller>index</controller> <action>index</action> </bluethink-inc> |
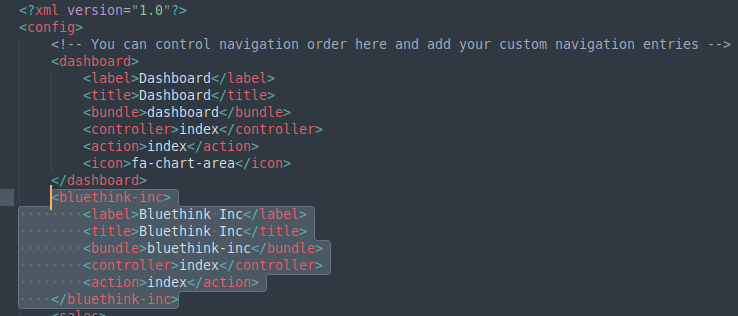
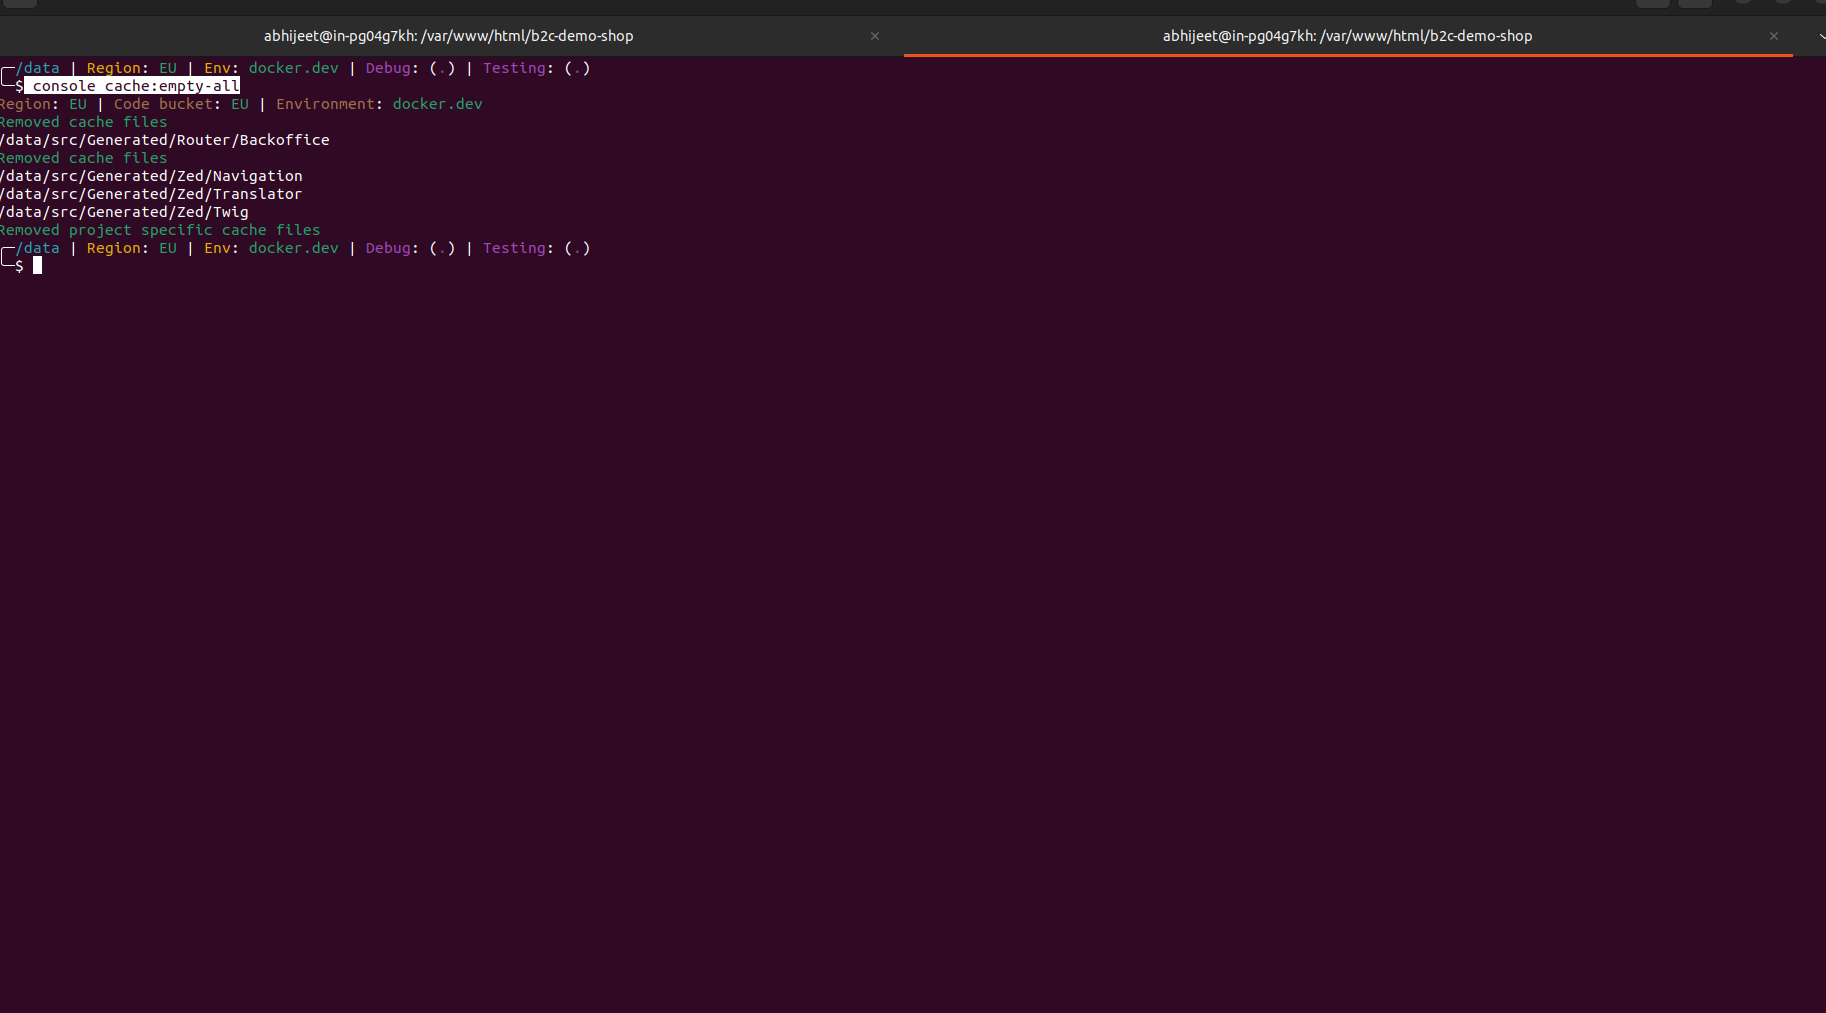
After add this you need run the following command:
|
1 |
console cache:empty-all |
Go to backoffice login page


Mukesh Singh
2025-01-08