
Magento Provided a functionality that you can setup multi-website and multi-store for a single Magento installation.
Setup for multi-website and multi-store to follow these step –
Step1 – Create Root Categories
Step2 – Create Websites
Step3- Create Stores
Step4- Create Store View
Step5- Change the Website Base URL
Step1 – Create Root Categories
Create root categories this is optional but when you want to each website to have a root category
then you need to create category
for create categories go to –
Catalog
Categories
Add Root Category
Add Sub Category
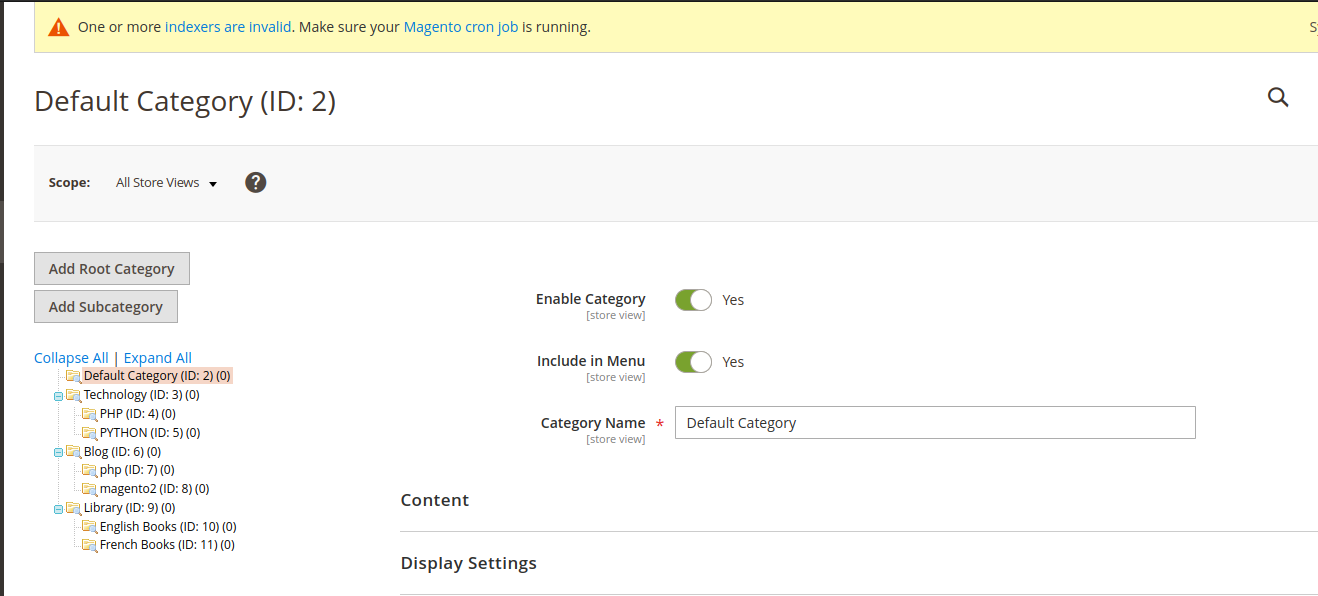
We created
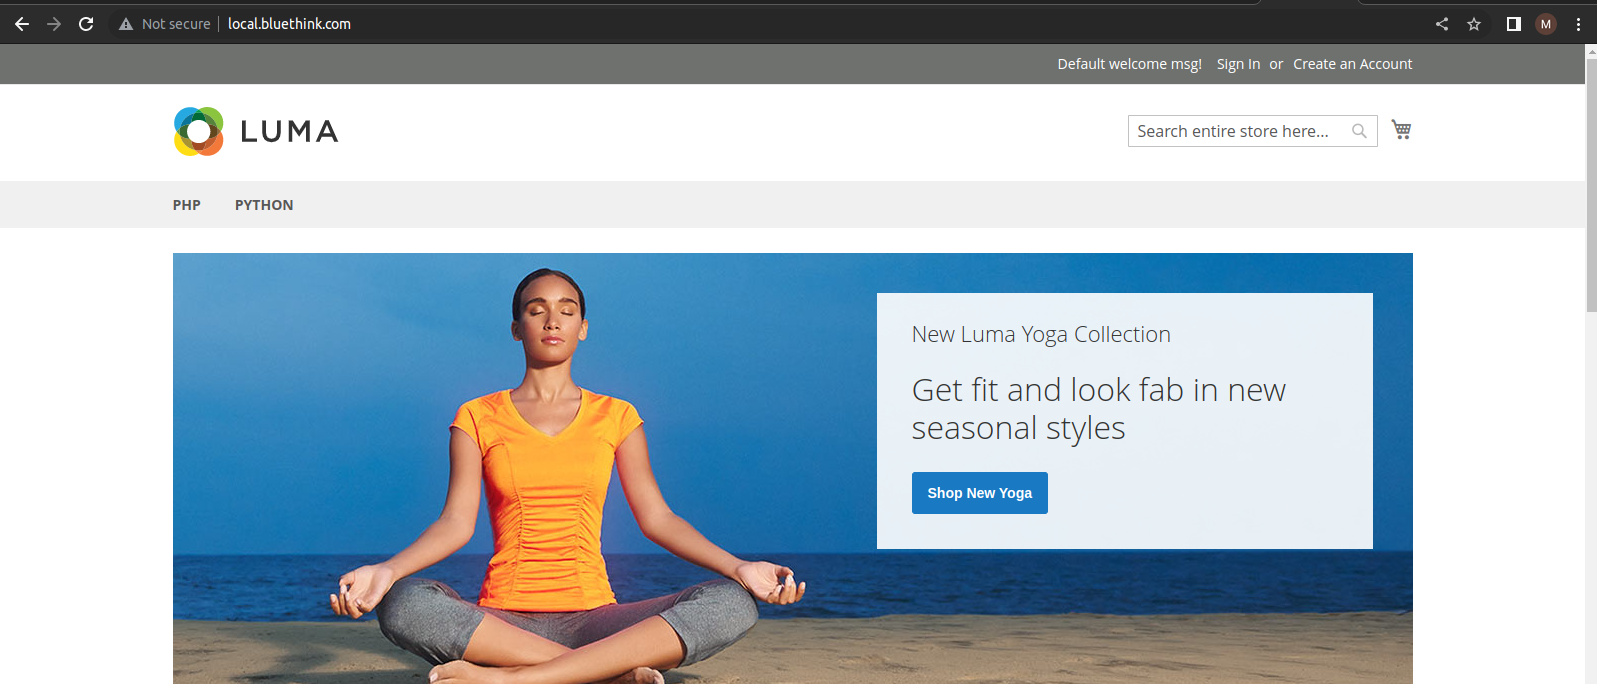
category for local.bluethink.com website.
1.Technology(Root Category)
PHP( sub category)
PYTHON (sub category)
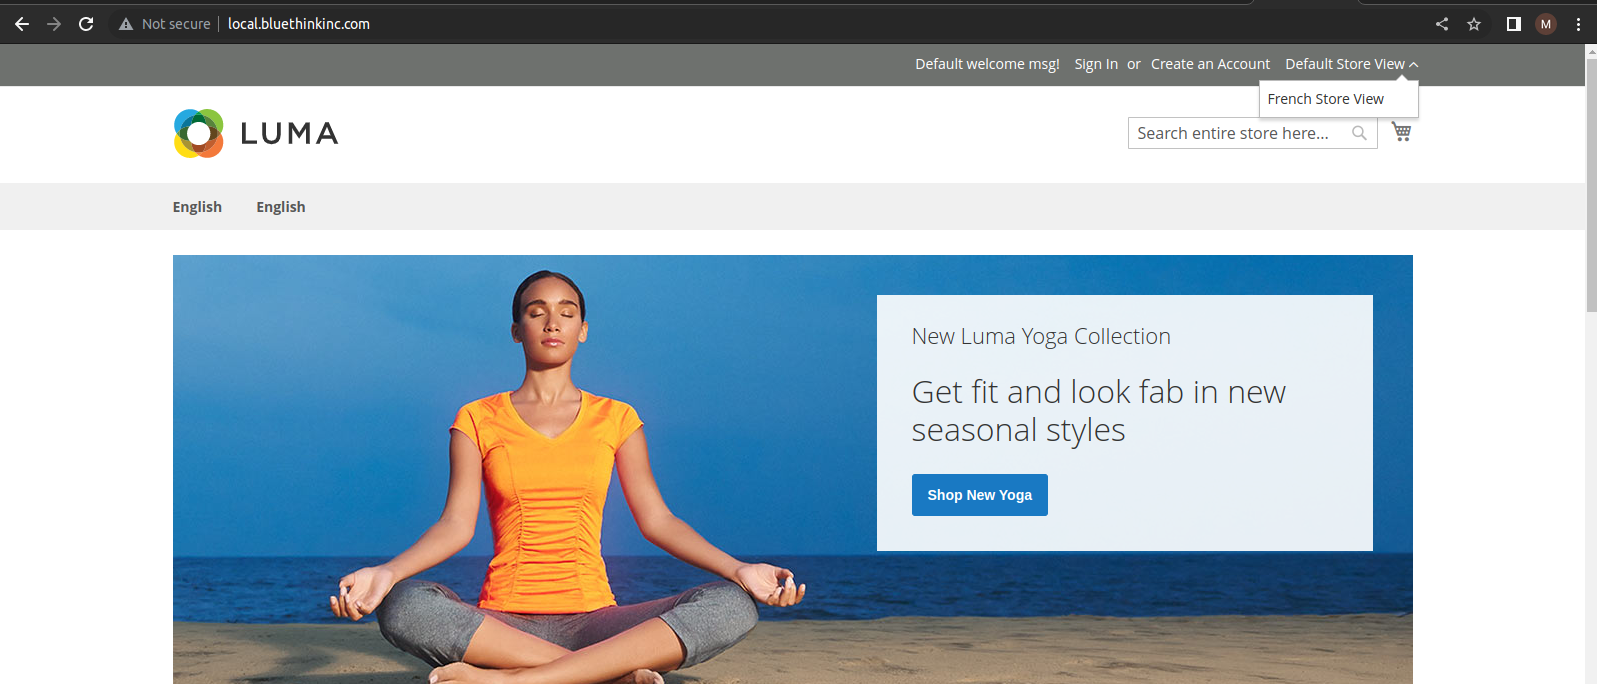
And category for local.bluethinkinc.com website.
1.Blog(Root Category)
PHP (sub category)
magento2 (sub category)
2.Library(Root Category)
English Books (sub category)
French Books (sub category)
Step2 – Create Websites
for creating website go to Stores→Setting→All Stores.
Create first website: – local.bluethink.com
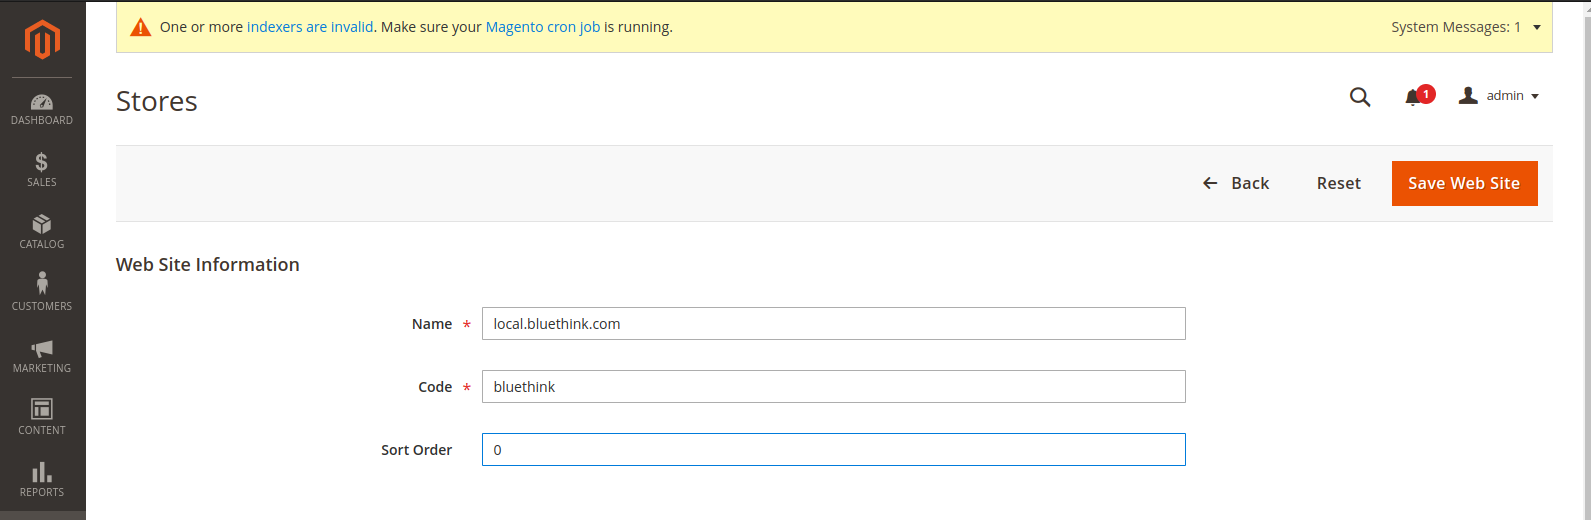
second website – local.bluethinkinc.com
Name – use name for identify the website name
code – use unique code for website
Step3- Create Stores
for creating store goto – Stores→Settings→All Stores
on the store page click Create Store
create store for local.bluethink.com website.
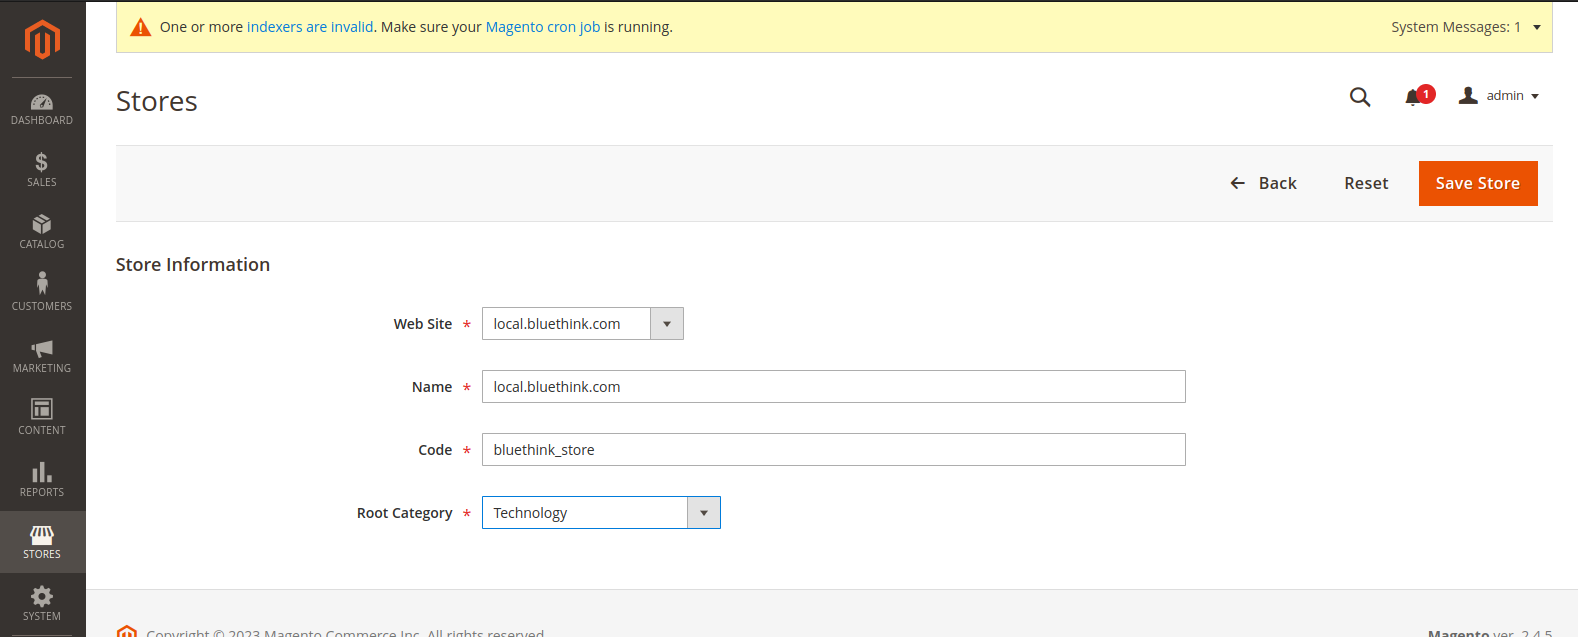
And create store for local.bluethinkinc.com website
Step4- Create Store View
for creating store view goto – Stores→Settings→All Stores.
And on the stores pages click Create Store View
create store view for local.bluethink.com website.
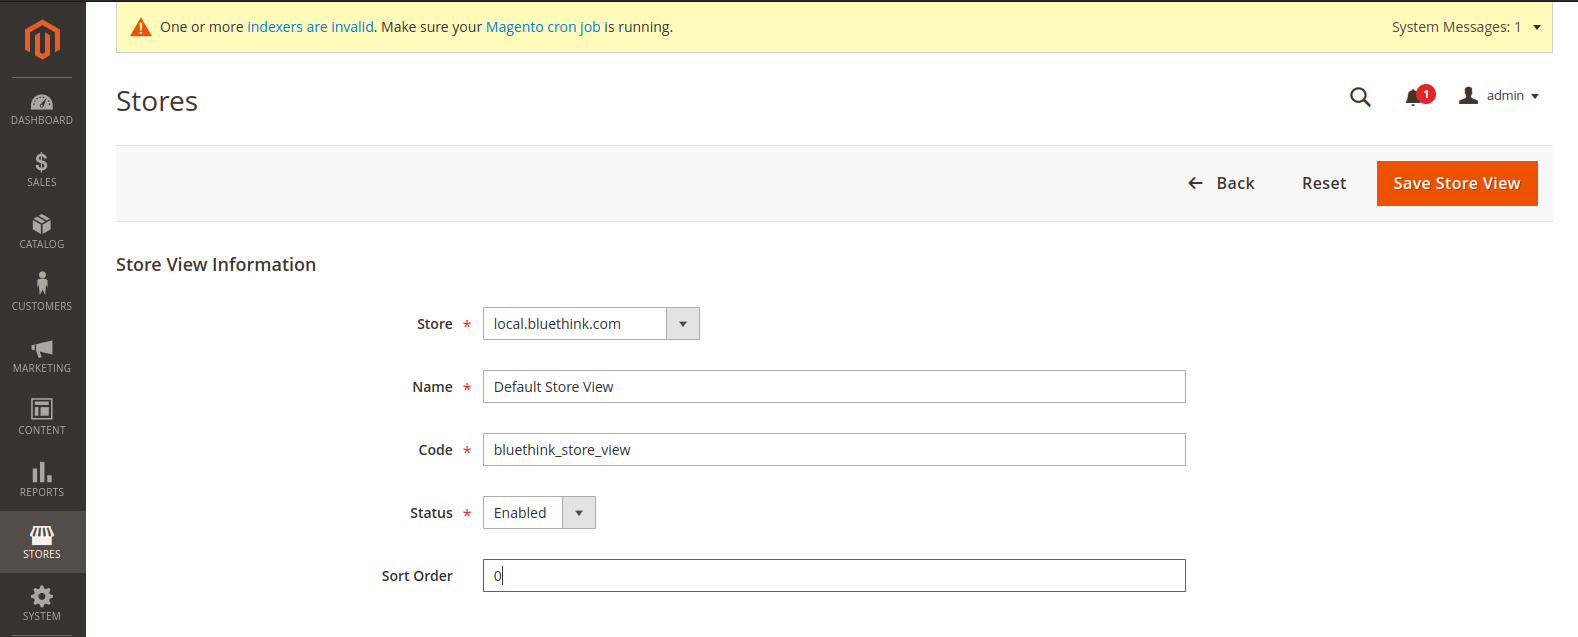
and create store view for local.bluethinkinc.com
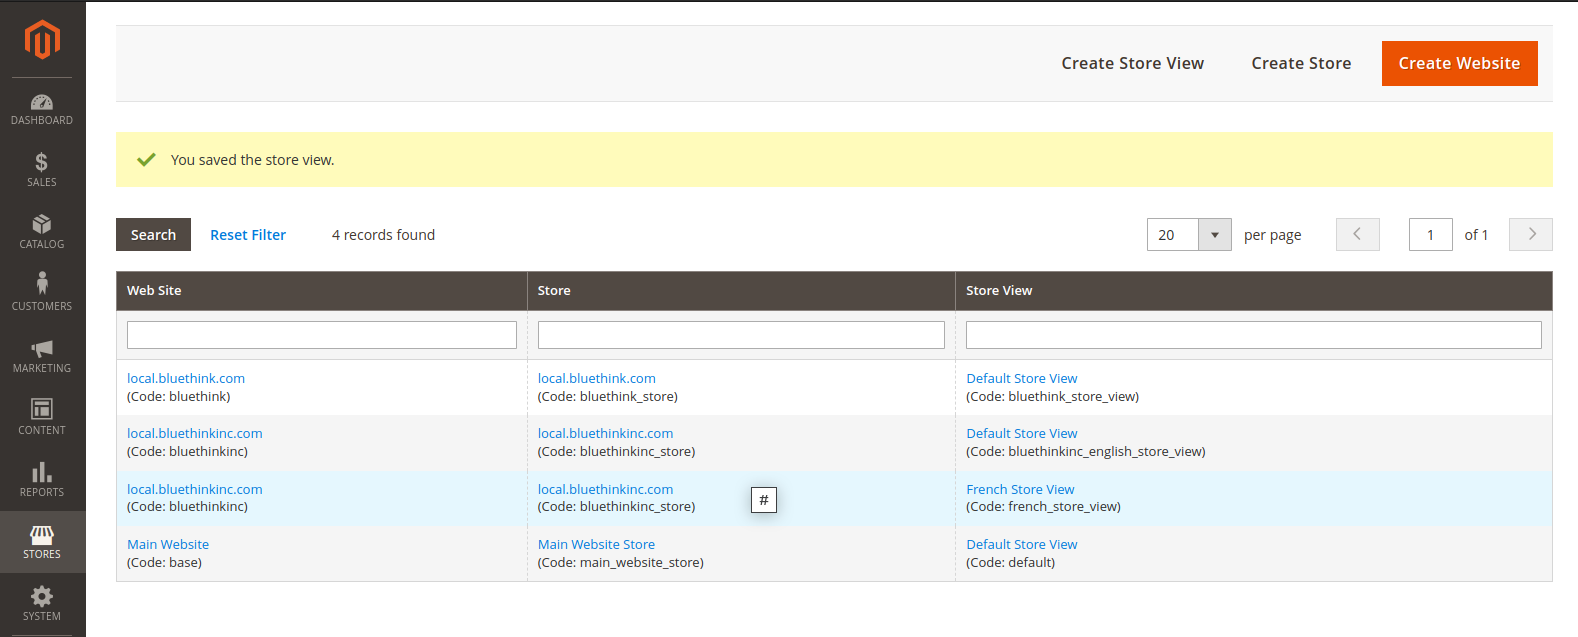
now create another store view for local.bluethinkinc.com website

Now, here are your stores,website and store view
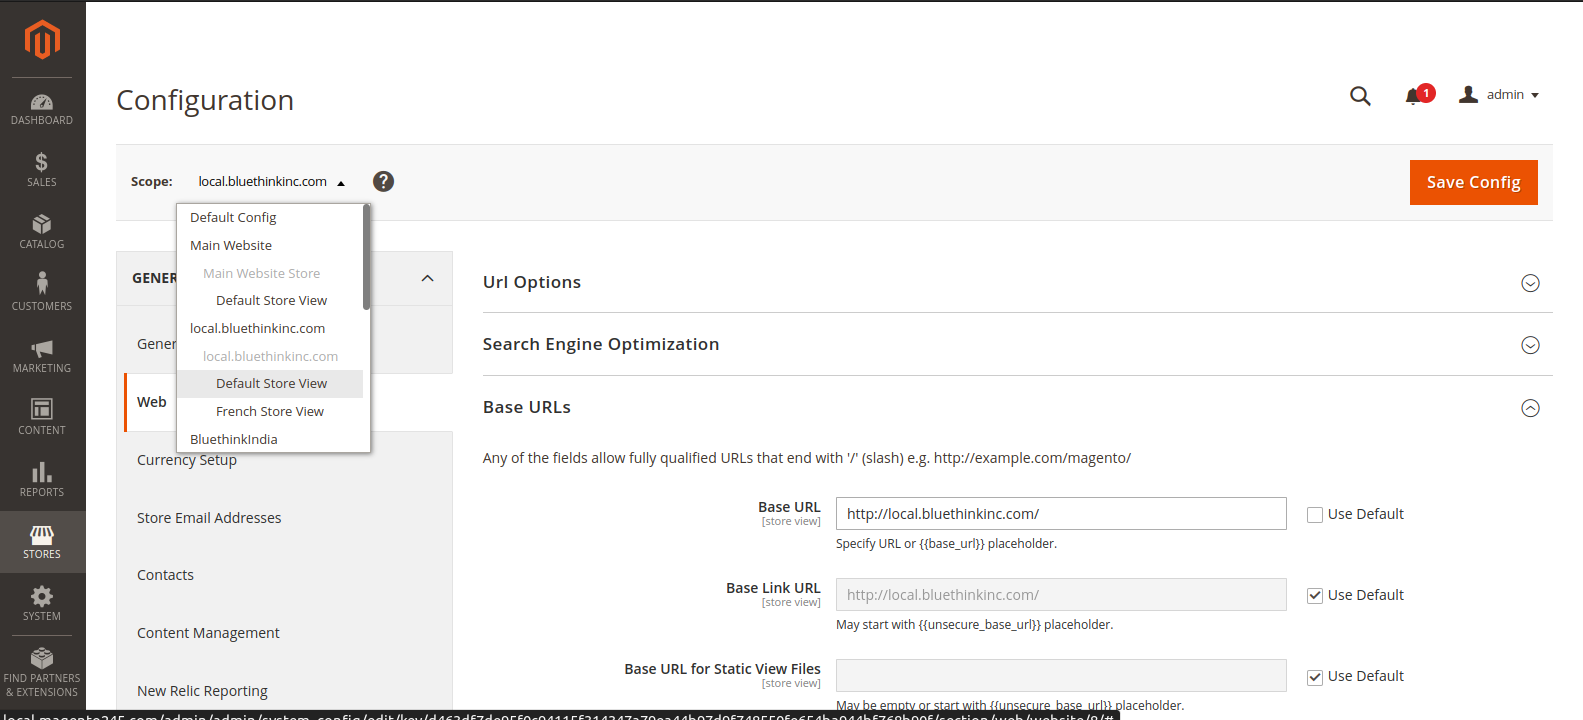
Step5- Change the Website Base URL
You must change the base URL of each site in the Admin
to change the website base URL go to Stores→Settings→Configuration→Web
as mention in the below images according to this change base URL
and repeat the previous step for change base URL(secure)

Now create conf file path(etc/apache2/sites-available),and mention your Servername name like as – (local.bluethink.com ) in bluethink.conf file and enable your site using below command
(sudo a2ensite bluethink.conf)
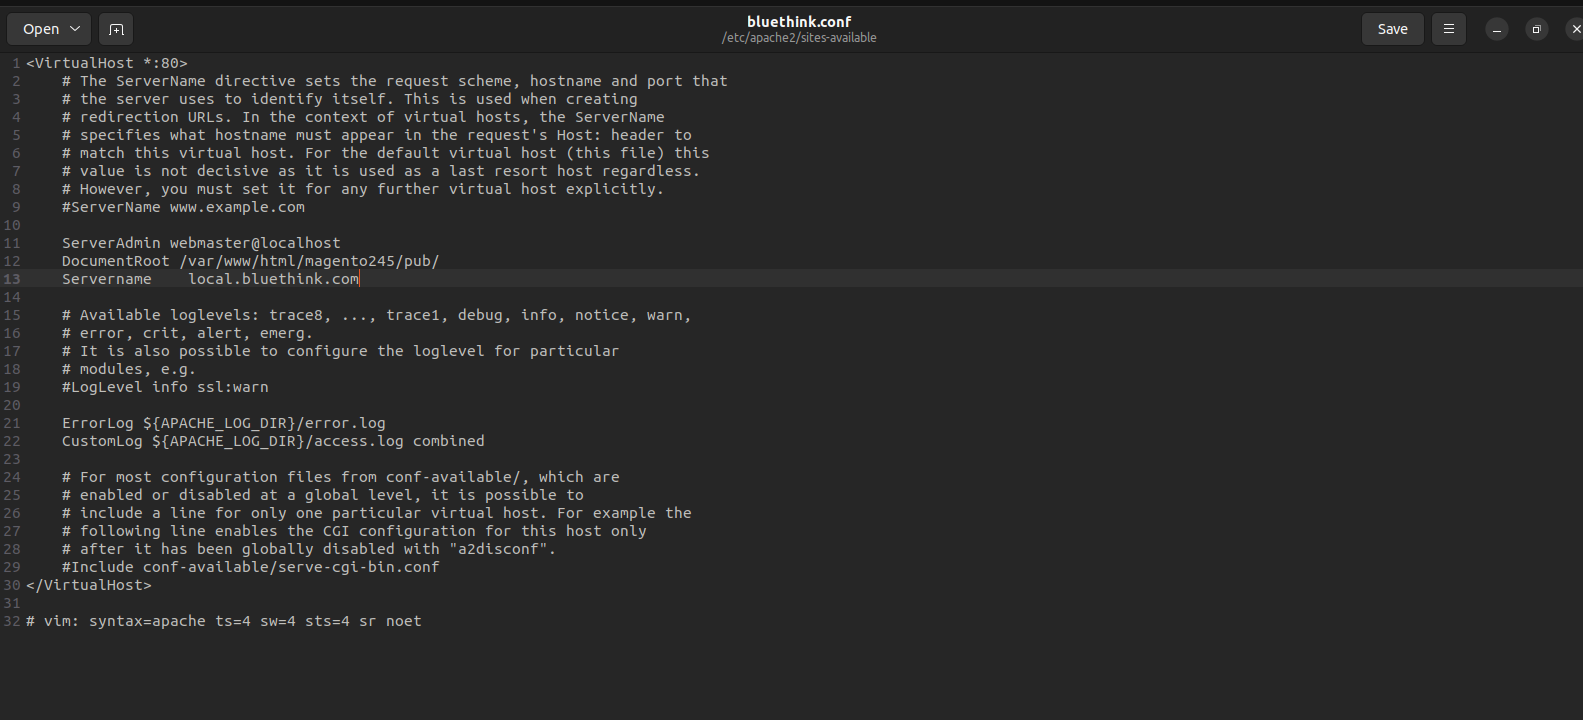
and (local.bluethinkinc.com) mention in bluethinkinc.conf file and again run below command
(sudo a2ensite bluethinkinc.conf)

now, open host file using below command
(sudo nano /etc/hosts)
and put below your domain name like as –
127.0.0.1 local.bluethink.com
127.0.0.1 local.bluethinkinc.com Editing the pub/index.php file and
add below code before
$bootstrap = Bootstrap::create(BP, $params);
|
1 2 3 4 5 6 7 8 9 10 11 12 13 14 15 |
$params = $_SERVER; $websiteName = $_SERVER['SERVER_NAME']; switch ($websiteName) { case 'local.bluethink.com': $runType = 'website'; $runCode = 'bluethink'; break; case 'local.bluethinkinc.com': $runType = 'website'; $runCode = 'bluethinkinc'; break; default: $runType = 'website'; $runCode = 'base'; } |
case – pointing your domain
runCode – Refers to the unique code for the website that you specify when creating your Website
Now, clear cache of Magento and browser you should be able to see to the custom domain.
I hope this blog help you for creating multi-website and multi-store .


bluethinkinc_blog
2023-03-02