Today I will explain how to create pop-up modal using widget in magento2.
Magento popup is generally used to promote special offers or advertise some products. The Magento modal widget implements a secondary window that opens on top of the main window. It contains the overlay and modal content.
To create a popup modal using widget in Magento 2, follow the below steps:
Step1 – Firstly, Create registration.php file inside
app\code\BluethinkInc\PopupWidget
|
1 2 3 4 5 6 7 8 9 10 11 |
<?php /** * Copyright © Bluethinkinc All rights reserved. * See COPYING.txt for license details. */ use Magento\Framework\Component\ComponentRegistrar; ComponentRegistrar::register( ComponentRegistrar::MODULE, "Bluethinkinc_PopupWidget", __DIR__ ); |
Step2 – Create module.xml file inside
app\code\BluethinkInc\PopupWidget\etc
|
1 2 3 4 5 6 7 8 |
<?xml version="1.0" ?> <config xmlns:xsi="http://www.w3.org/2001/XMLSchema-instance" xsi:noNamespaceSchemaLocation="urn:magento:framework:Module/etc/module.xsd"> <module name="Bluethinkinc_PopupWidget"> <sequence> <module name="Magento_Widget"/> </sequence> </module> </config> |
Step3 – Create widget.xml file inside
app\code\BluethinkInc\PopupWidget\etc
|
1 2 3 4 5 6 7 |
<?xml version="1.0" ?> <widgets xmlns:xsi="http://www.w3.org/2001/XMLSchema-instance" xsi:noNamespaceSchemaLocation="urn:magento:module:Magento_Widget:etc/widget.xsd"> <widget id="bluethinkinc_popupwidget_popup_widget" class="Bluethinkinc\PopupWidget\Block\Widget\Popup"> <label>My Custom Widget</label> <description>My Custom Widget</description> </widget> </widgets> |
Step4 – Create Popup.php inside Bluethinkinc\PopupWidget\Block\Widget which is define in widget class.
|
1 2 3 4 5 6 7 8 9 10 11 12 13 |
<?php /** * Copyright © Bluethinkinc All rights reserved. * See COPYING.txt for license details. */ declare(strict_types=1); namespace Bluethinkinc\PopupWidget\Block\Widget; use Magento\Framework\View\Element\Template; use Magento\Widget\Block\BlockInterface; class Popup extends Template implements BlockInterface { protected $_template = "widget/popup_widget.phtml"; } |
Step 5 – Create popup_widget.phtml inside
Bluethinkinc\PopupWidget\view\frontend\templates\widget
|
1 2 3 4 5 6 7 8 9 |
<div id="popup-modal" data-mage-init='{"myjs": {}}' > <h3>BluethinkInc</h3> </div> <style> #popup-modal { display: none; } </style> |
Step 6 – Now, Create requirejs-config.js file inside
Bluethinkinc\PopupWidget\view\frontend
|
1 2 3 4 5 6 7 8 9 10 |
var config = { paths: { 'myjs': "Bluethinkinc_PopupWidget/js/popup" }, shim: { 'popup': { deps: ['jquery'] } } } |
Step 7 – Now, Create popup.js inside
Bluethinkinc\PopupWidget\view\frontend\web\js
|
1 2 3 4 5 6 7 8 9 10 11 12 13 14 15 16 17 18 19 20 21 22 23 24 25 26 27 28 29 |
require( [ 'jquery', 'Magento_Ui/js/modal/modal' ], function( $, modal ) { var options = { type: 'popup', responsive: true, innerScroll: true, title:'Custom Popup ', buttons: [ { text: $.mage.__('No,thanks'), class: '', click: function () { this.closeModal(); } } ] }; var popup = modal(options, $('#popup-modal')); $('#popup-modal').modal('openModal'); } ); |
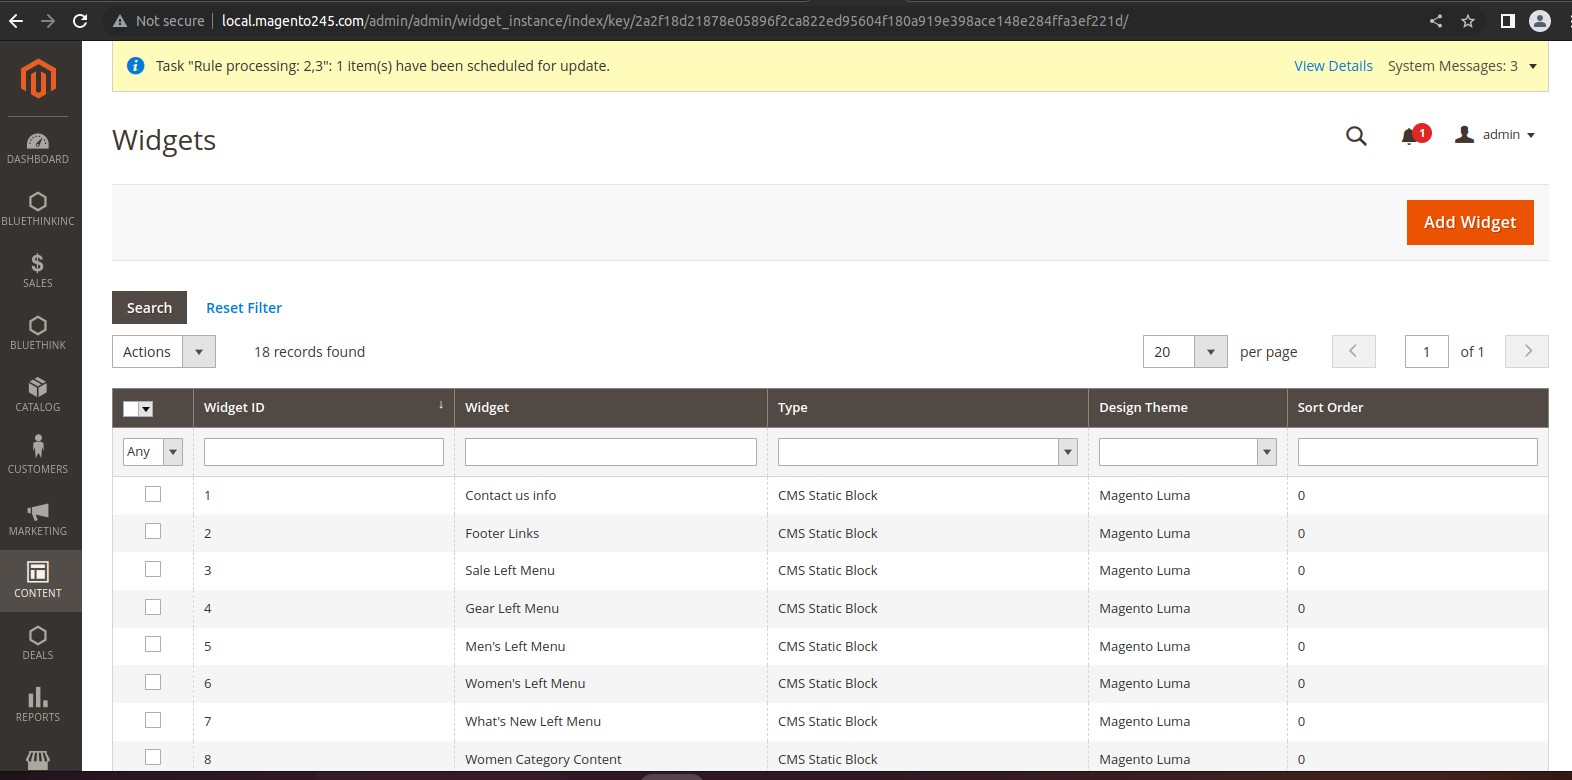
Step 8 – Add Widget
For creating go to – Context→ Widgets and click on Add widget

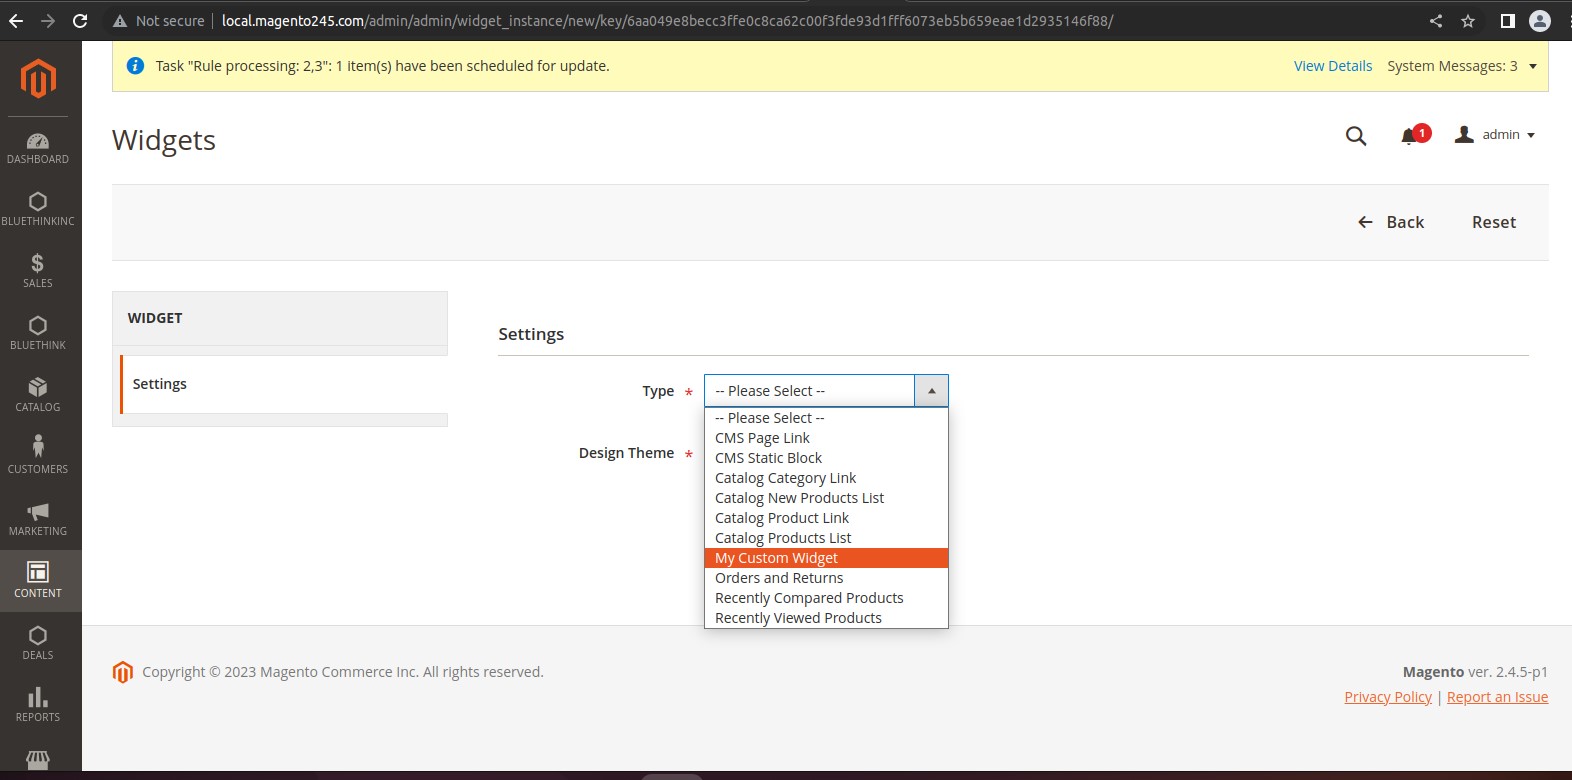
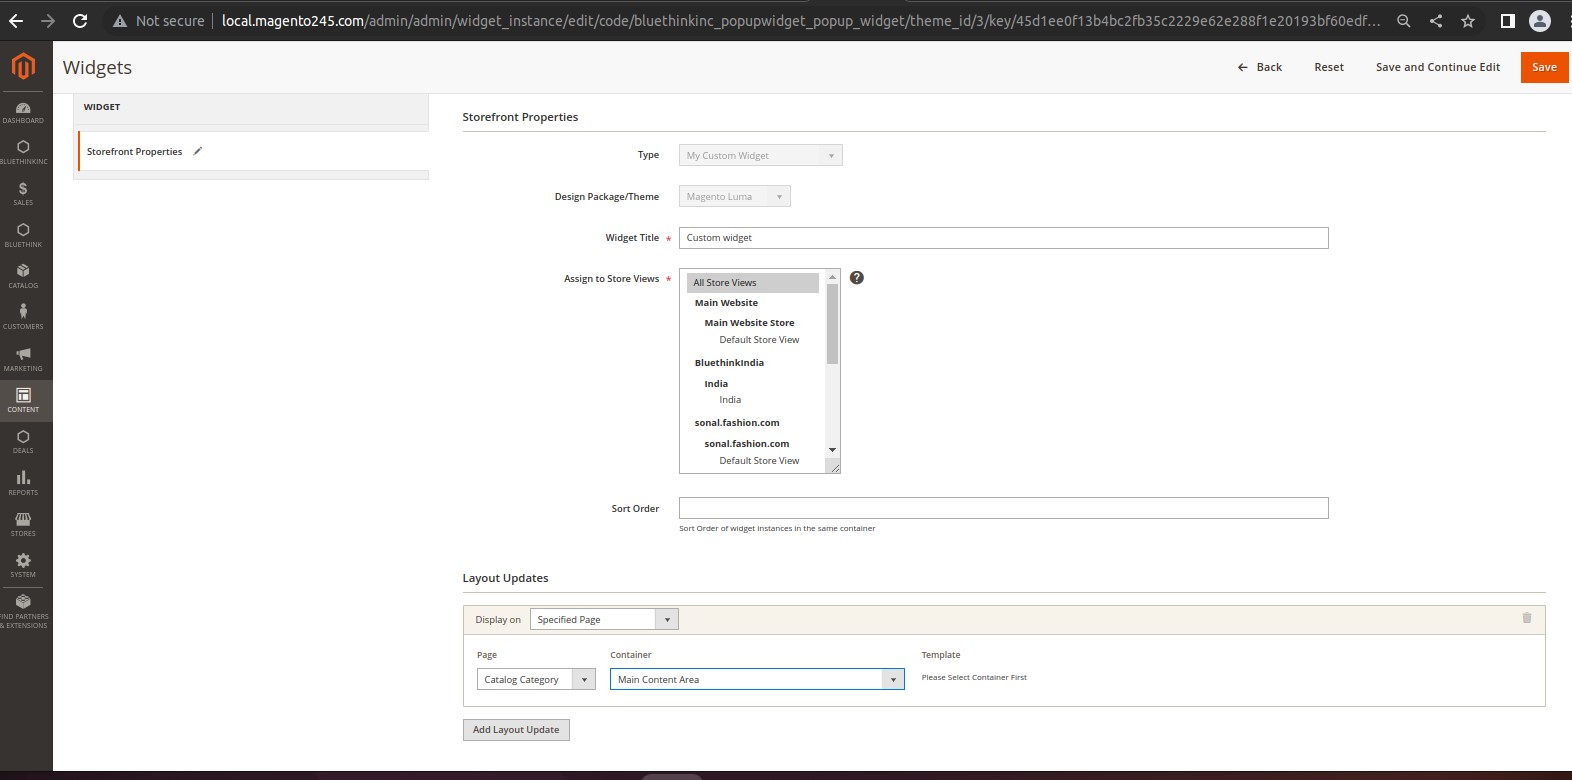
Step 9 – when click on Add widget and select your widget

Now, Select the area where popup is to be shown.

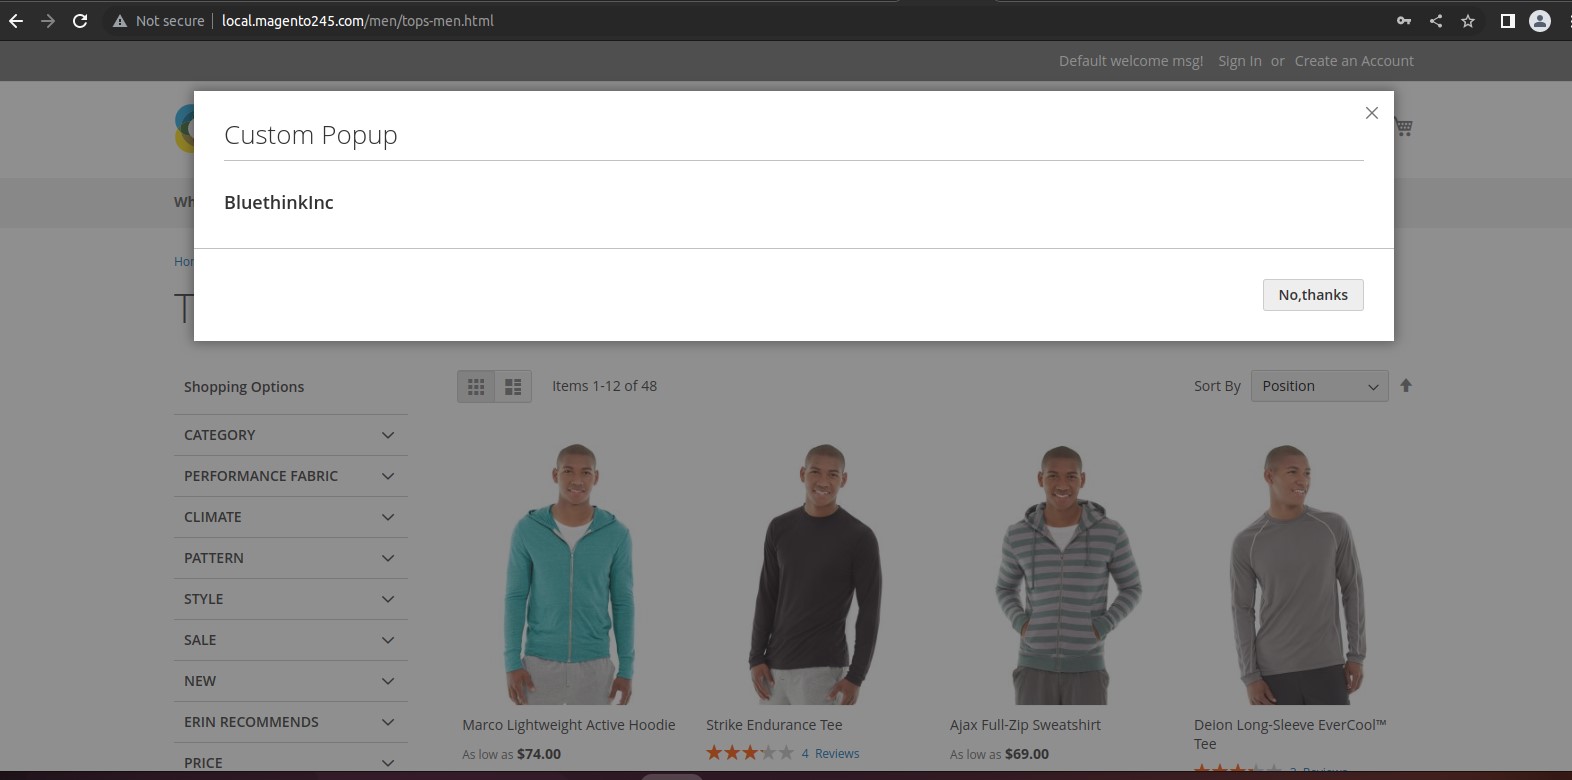
Successfully performing the above steps, will show the Custom Popup window

I hope this blog help you for creating pop-up modal using widget.


bluethinkinc_blog
2023-03-07