In this article, we will learn how to create custom hooks in React. Primarily, Hooks are introduced to implement the functionalities of a Class component into a Functional component. Hooks are reusable functions.
Why do we need to use custom Hooks in React
Custom hooks enable us to remove unnecessary duplicated logic from our React components.
Reusability – The same code can be uses multiple times without writing it many times.
Maintainability – We have to change the logic of hooks only once.
It improves the readability of a React functional component.
Rules to write and implement a custom React hook
Custom hooks begin with keyword ‘use’. It is not necessary to begin the custom Hook name with the use keyword but I recommend you to write
custom Hooks starting with the use keyword because it enables us to spot the bug quickly.
Custom hooks always contain built-in React hooks or other custom hooks. If a custom hook does not contain any hook then it will not be a custom
hook.
We should call Hooks at the top level. We cannot use hooks inside nested functions, conditions and loops.
Now, let’s create our own custom React Hooks.
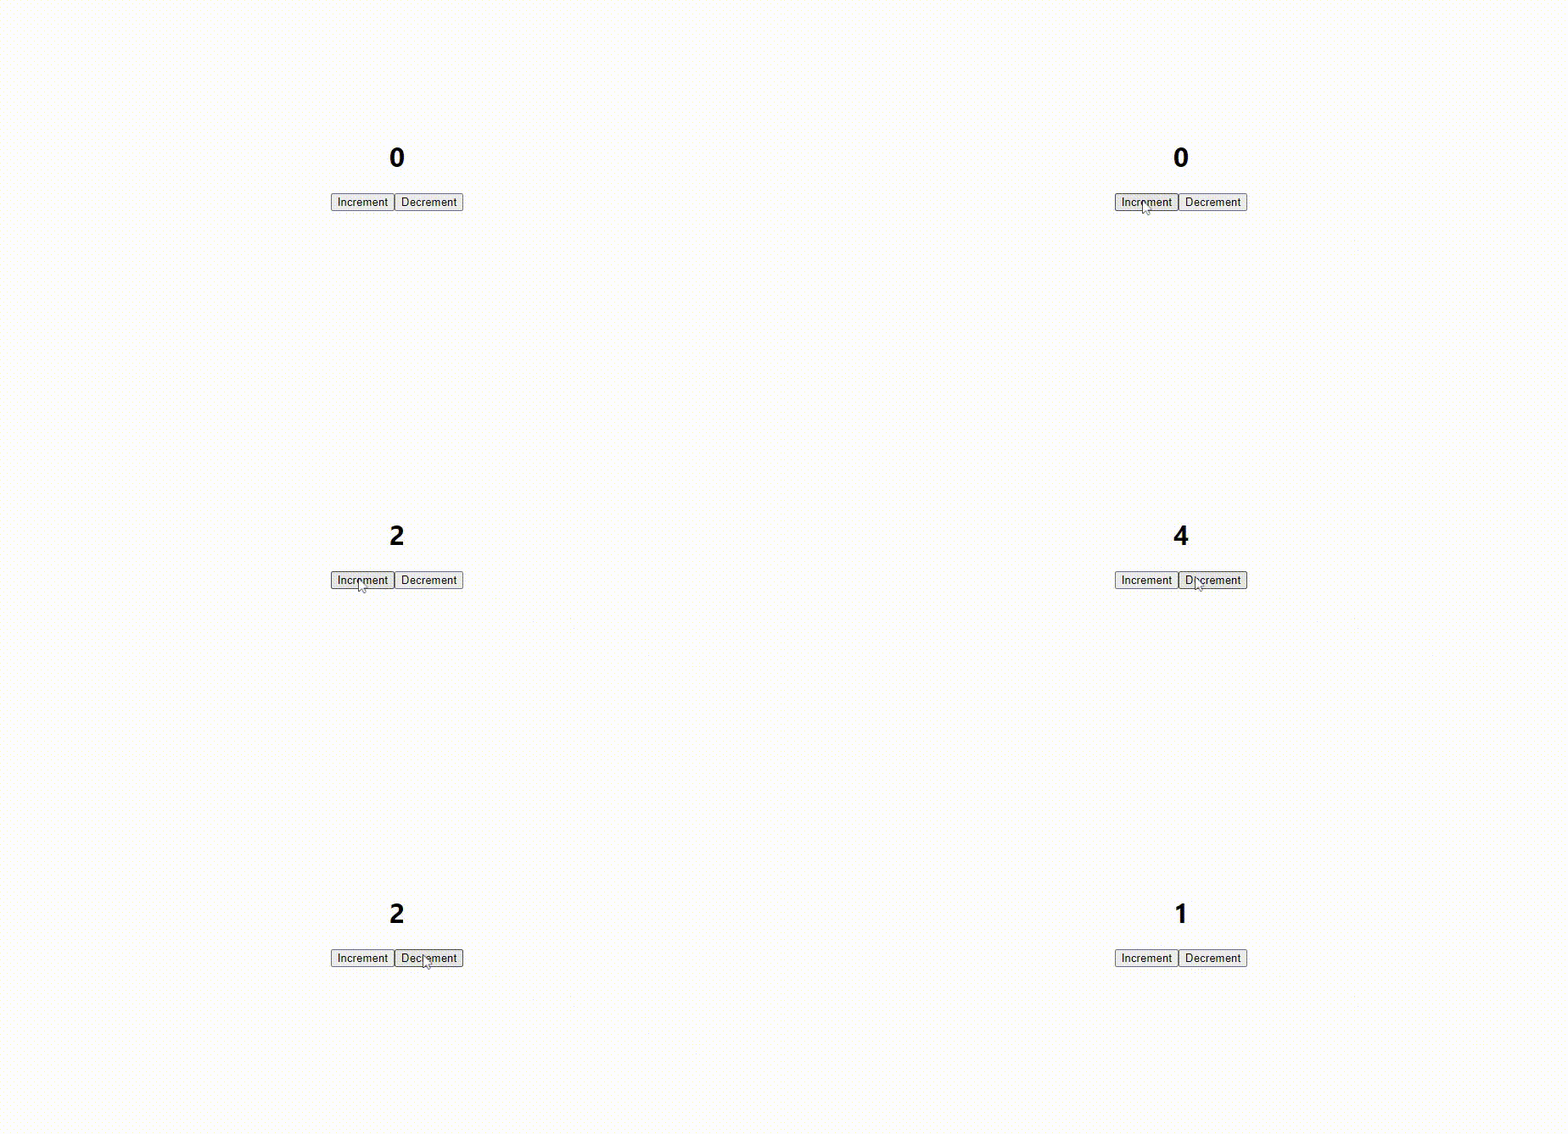
Firstly, I am going to create simple Counter Functional component in which our state value increase and decrease by 1 and initial value is set to 0.
|
1 2 3 4 5 6 7 8 9 10 11 12 13 14 15 16 17 18 19 20 21 22 23 24 |
import { useState } from 'react' function Counter() { const [count, setCount] = useState(0); function Increment() { setCount(count + 1) } function Decrement() { setCount(count - 1) } return ( <div> <h1>{count}</h1> <button onClick={Increment}>Increment</button> <button onClick={Decrement}>Decrement</button> </div> ) } export default Counter; |
Output will be shown like this

Now, if we want to render above functionality in multiple component so here custom hook comes into the role. Basically we will modify the Counter component to make a hook named as ‘useCounter’. So after some modification code will look like this.
|
1 2 3 4 5 6 7 8 9 10 11 12 13 14 15 16 |
import { useState } from 'react' function useCounter(initialValue=0) { const [count, setCount] = useState(initialValue); function Increment() { setCount(count + 1) } function Decrement() { setCount(count - 1) } return [count , Increment , Decrement] } export default useCounter; |
Let’s say, we want to use our custom hook ‘useCounter’ in three different component e.g. Counter1.jsx, Counter2.jsx, Counter3.jsx. So we will import in our components like this.
Counter1.jsx
|
1 2 3 4 5 6 7 8 9 10 11 12 13 14 15 |
import useCounter from './Counter' function Counter1() { const [count, Increment, Decrement] = useCounter(10) return ( <div> <h1>{count}</h1> <button onClick={Increment}>Increment</button> <button onClick={Decrement}>Decrement</button> </div> ) } export default Counter1 |
Counter2.jsx
|
1 2 3 4 5 6 7 8 9 10 11 12 13 14 15 |
import useCounter from './Counter' function Counter2() { const [count, Increment, Decrement] = useCounter(20) return ( <div> <h1>{count}</h1> <button onClick={Increment}>Increment</button> <button onClick={Decrement}>Decrement</button> </div> ) } export default Counter2 |
Counter3.jsx
|
1 2 3 4 5 6 7 8 9 10 11 12 13 14 |
import useCounter from './Counter' function Counter3() { const [count, Increment, Decrement] = useCounter(-10) return ( <div> <h1>{count}</h1> <button onClick={Increment}>Increment</button> <button onClick={Decrement}>Decrement</button> </div> ) } export default Counter; |
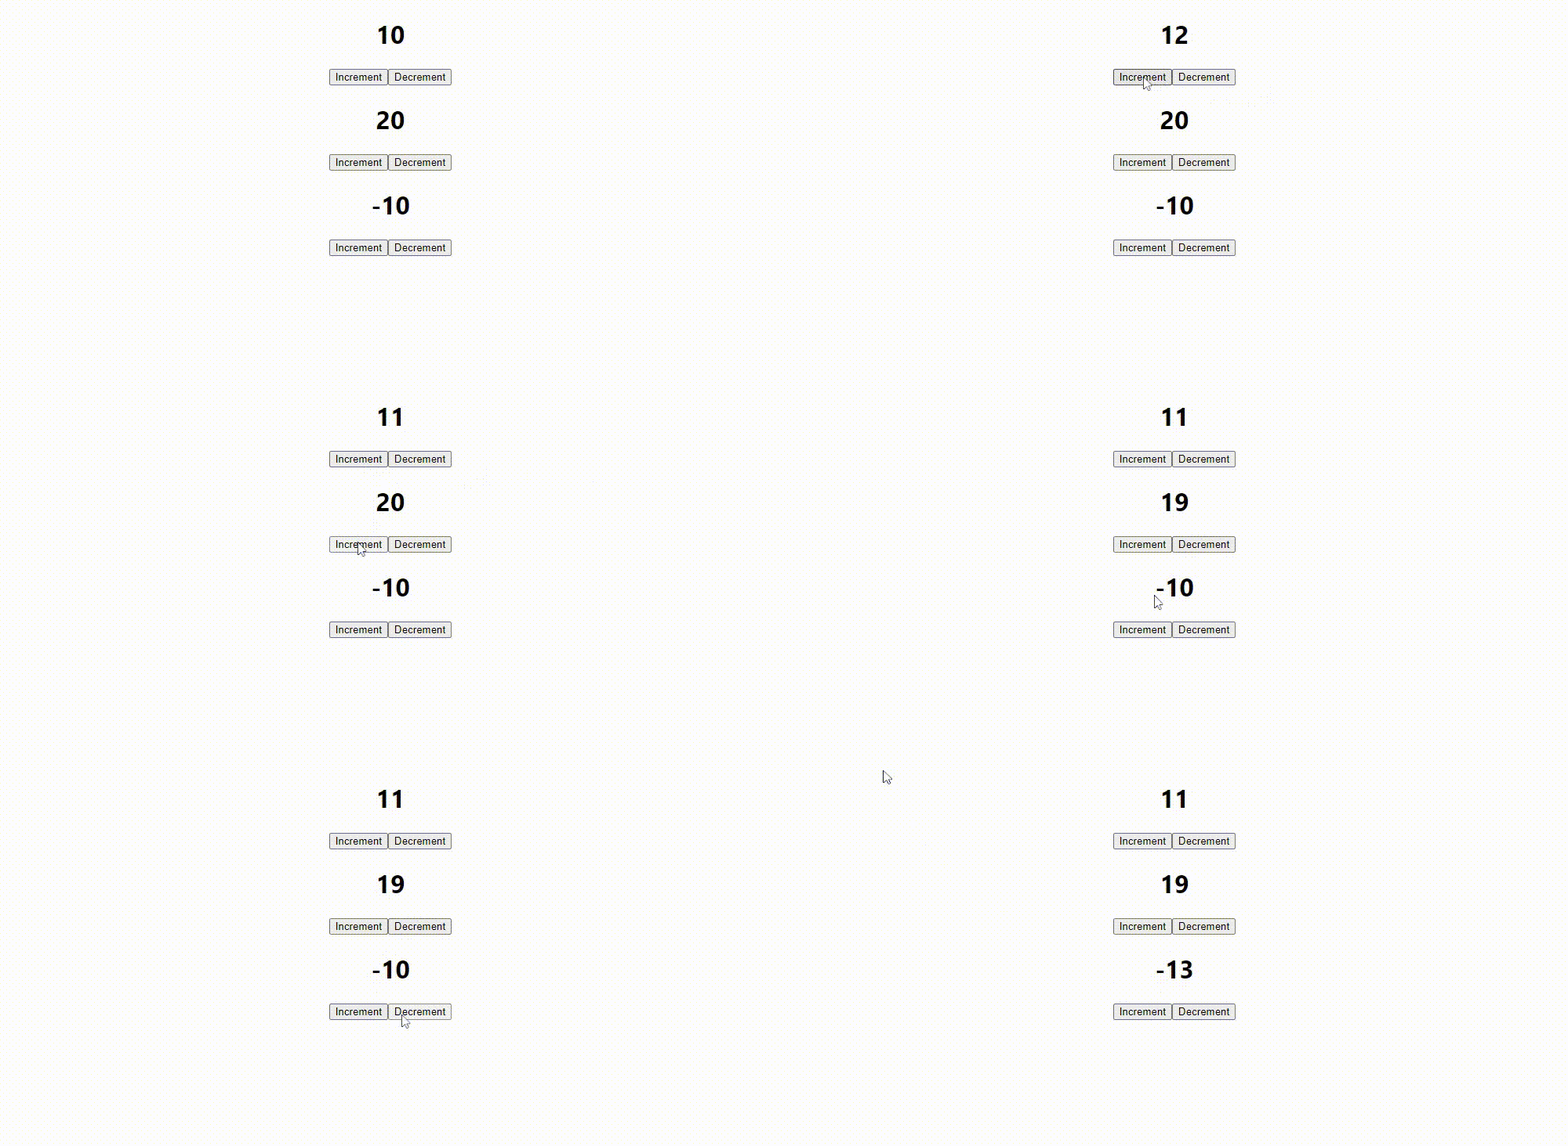
You can see that initial state value of every component is changed.
Now we have to import all these components in our App.js file to render it on the webpage.
|
1 2 3 4 5 6 7 8 9 10 11 12 13 14 15 16 17 |
import './App.css'; import Counter1 from './Counter1'; import Counter2 from './Counter2'; import Counter3 from './Counter3'; function App() { return ( <div className="App"> <Counter1/> <Counter2/> <Counter3/> </div> ); } export default App; |
Output will be shown like this

Now you are able to create your own custom React hook.
CONCLUSION
I hope this blog help you in an effective way. Please give your valuable suggestions in the comment section below.
Thanks for reading.
Have a nice day !
Find More Blogs
Understanding Database Allows Callout in Salesforce Apex
Spread the love In Salesforce, the Database.AllowsCallouts
PODMAN
Spread the love 1.Introduction Podman: The Modern Container
Running Your Java Program (JAR) 24/7 on AWS EC2 Automatically
Spread the love Introduction Running a Java application
Building a REST API with Spring Boot
Spread the love Introduction REST (Representational State
Custom API to Fetch Customer Data by Customer ID in Spryker
Spread the love Introduction In this blog post, we will
Creating a Custom Module for a Custom Frontend Page in Spryker
Spread the love To create a custom module for a custom
How to create custom module api get category list without access token in Spryker
Spread the love To create a custom API for fetching a
Creating a Custom Glue API in Spryker
Spread the love Spryker’s Glue API is a powerful tool
Get AI Generated 360-Degree View of Account Summary in Dynamics 365 Sales
Spread the love Navigating the demanding landscape of sales
Enhancing Productivity with Dynamics 365: The Power of Session Restore
Spread the love Enhancing Productivity with Dynamics 365:


bluethinkinc_blog
2023-04-05