

JENKINS
Introduction and Installation

Background:
In today’s we are emerging over the technical and quick solution. We are having different servers whether it is related to AWS instance, azure server.
In today’s blog I am going to focus on some deployment techniques related to Jenkins. Mainly today I will cover introduction part.
Why are we using Jenkins?
When we talk about Jenkins we need to first talk about CI/CD (Continuous Integration and Continuous Development)
From my point of view CI/CD is the process to automate your deployments.
Suppose you have one server, and you need to deploy your code. Mainly Manual steps would be going to server command line and run the git commands and then run framework command to run the deployments.
We can automate this process with the help of CI/CD integration with git. Whenever there will be any Merge or Pull requests in your git branch then automated process will run through Jenkins and deployment will be taken.
Also, we have CI/CD process with GitLab also.
So, we are using Jenkins to automate the process.
Installation process of Jenkins with Docker
First step to start this process need to install docker and docker compose in your Linux machine.
You can go through the official blog to install the docker and docker compose
https://docs.docker.com/engine/install/ubuntu/
Create one directory under var/www/jenkins
In this folder take the pull of docker jenkins images with command
docker pull jenkins/jenkins
Then create one volume directory that will have all data related to jenkins
Note: Volume is set of files in directory, docker use this keyword volumes:
– “$PWD/jenkins_home:/var/jenkins_home”
To download the files in particular folder when docker-compose run
Now the main step to create docker-compose.yml file with content
|
1 2 3 4 5 6 7 8 9 10 11 12 13 |
version: '3' services: jenkins: container_name: jenkins image: jenkins/jenkins ports: - "8080:8080" volumes: - "$PWD/jenkins_home:/var/jenkins_home" networks: - net networks: net: |
Description of docker-compose.yml file
- Version: Here the version represents the file format of docker-compose file. It also means that you are going to create new plugin
- Services: It means the services or resources that going to use with in compose file
- Jenkins: it is service name
Next Step:
Need to run command in directory
docker-compose up –d
It will create the container
Now go to URL:
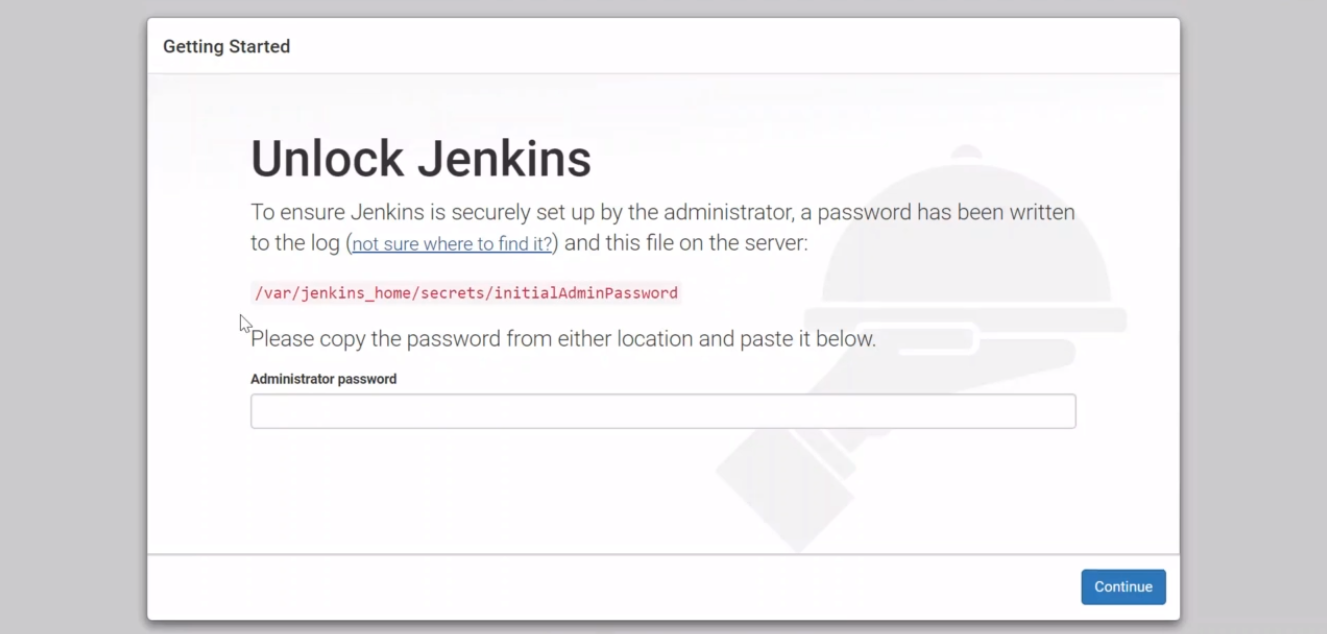
It will ask for initial password you can find in directory
jenkins_home/secrets/initailpassword
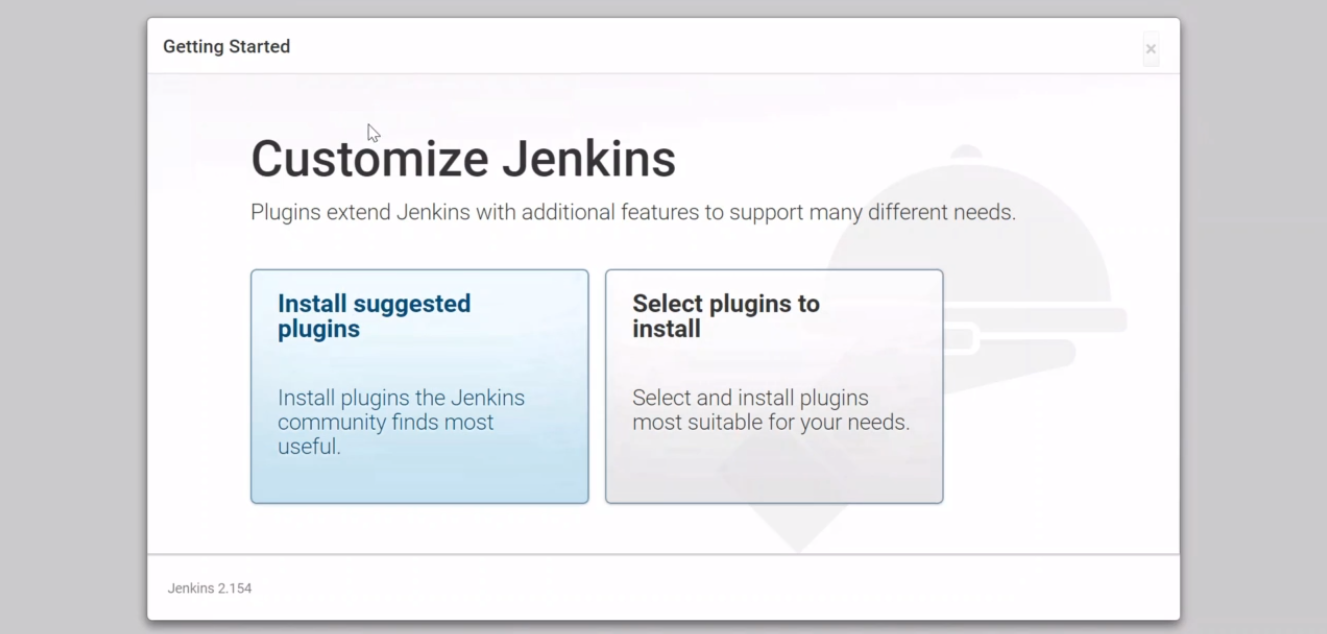
Click on Install Suggested Plugin and wait for some time It will take some time to have on Getting Started page
Now create admin user
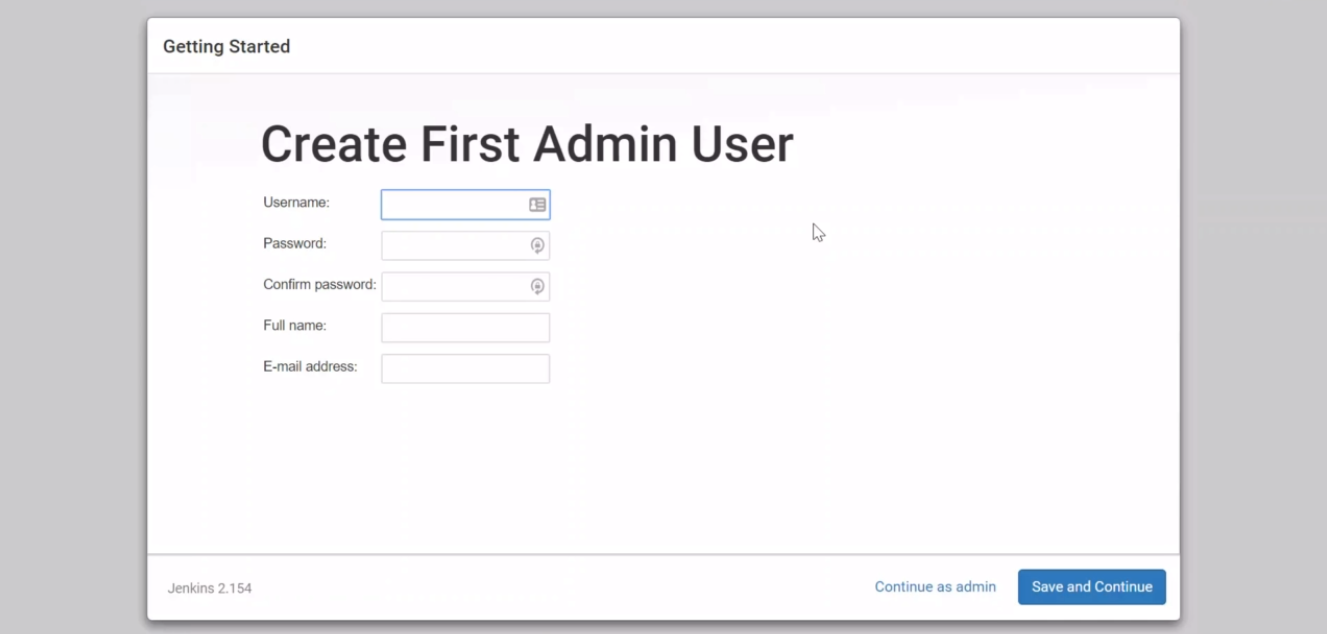
After this you can be redirected to Jenkins dashboard

How to create your first job
To automate any process, we are using to create job in Jenkins
Today I will tell how to create your first job manually.
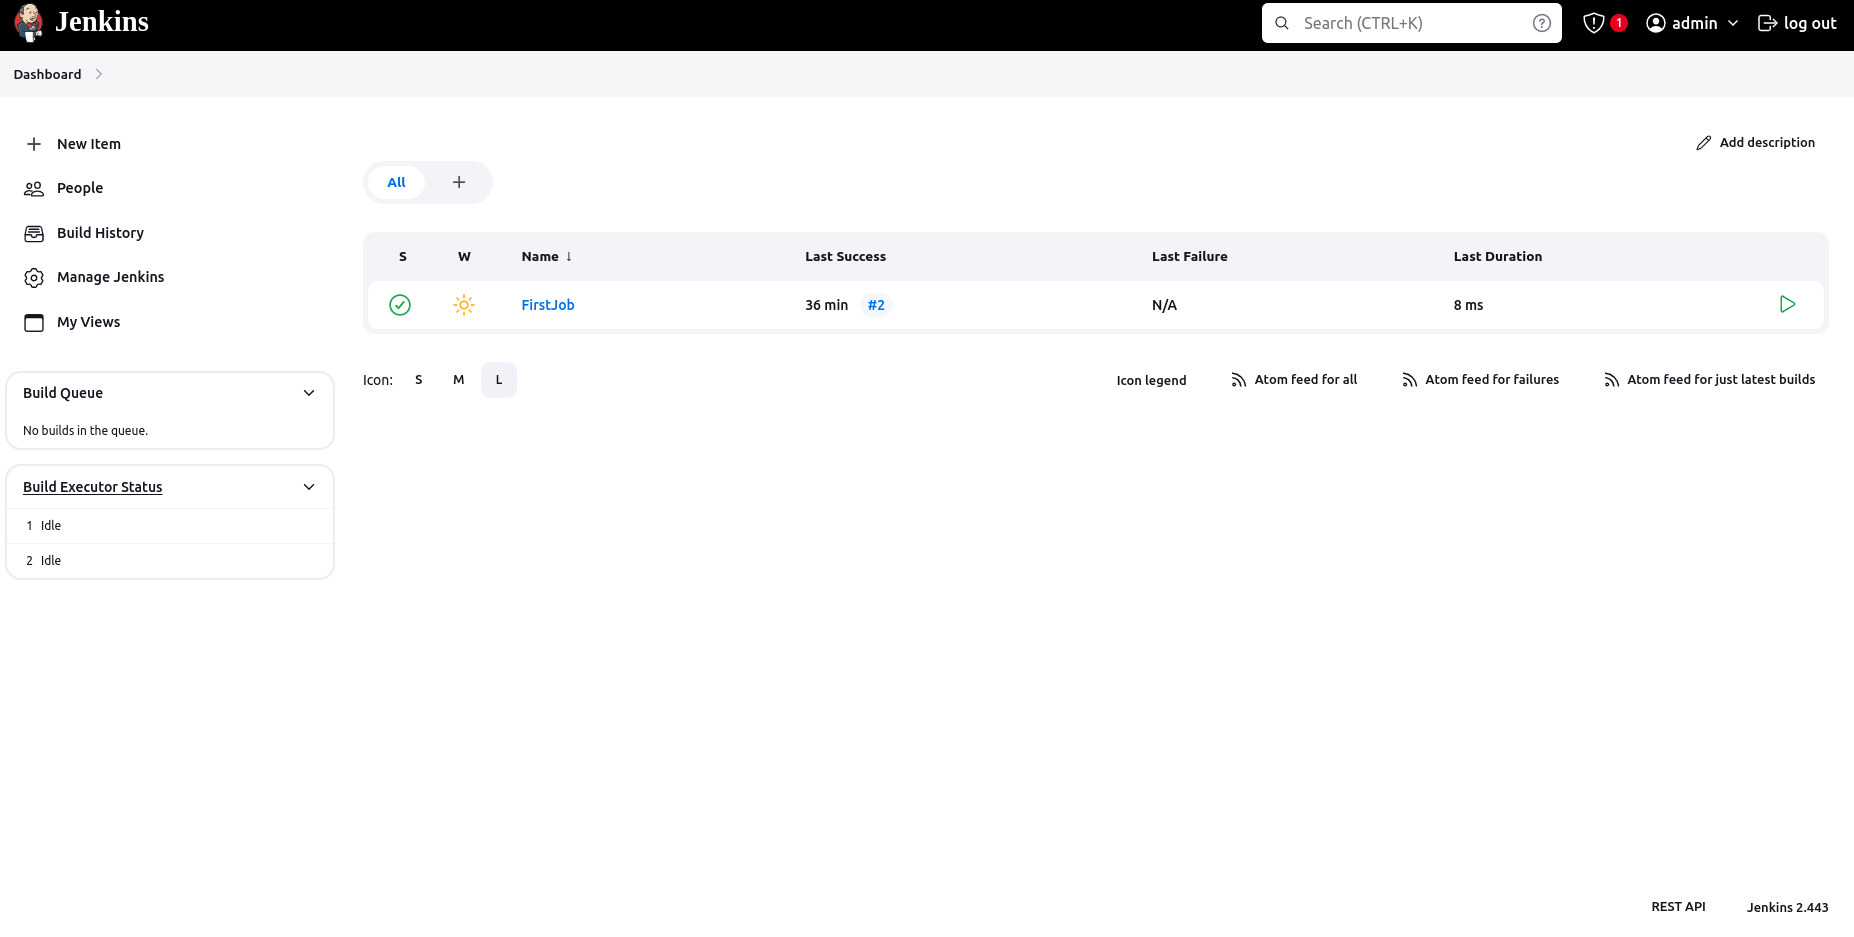
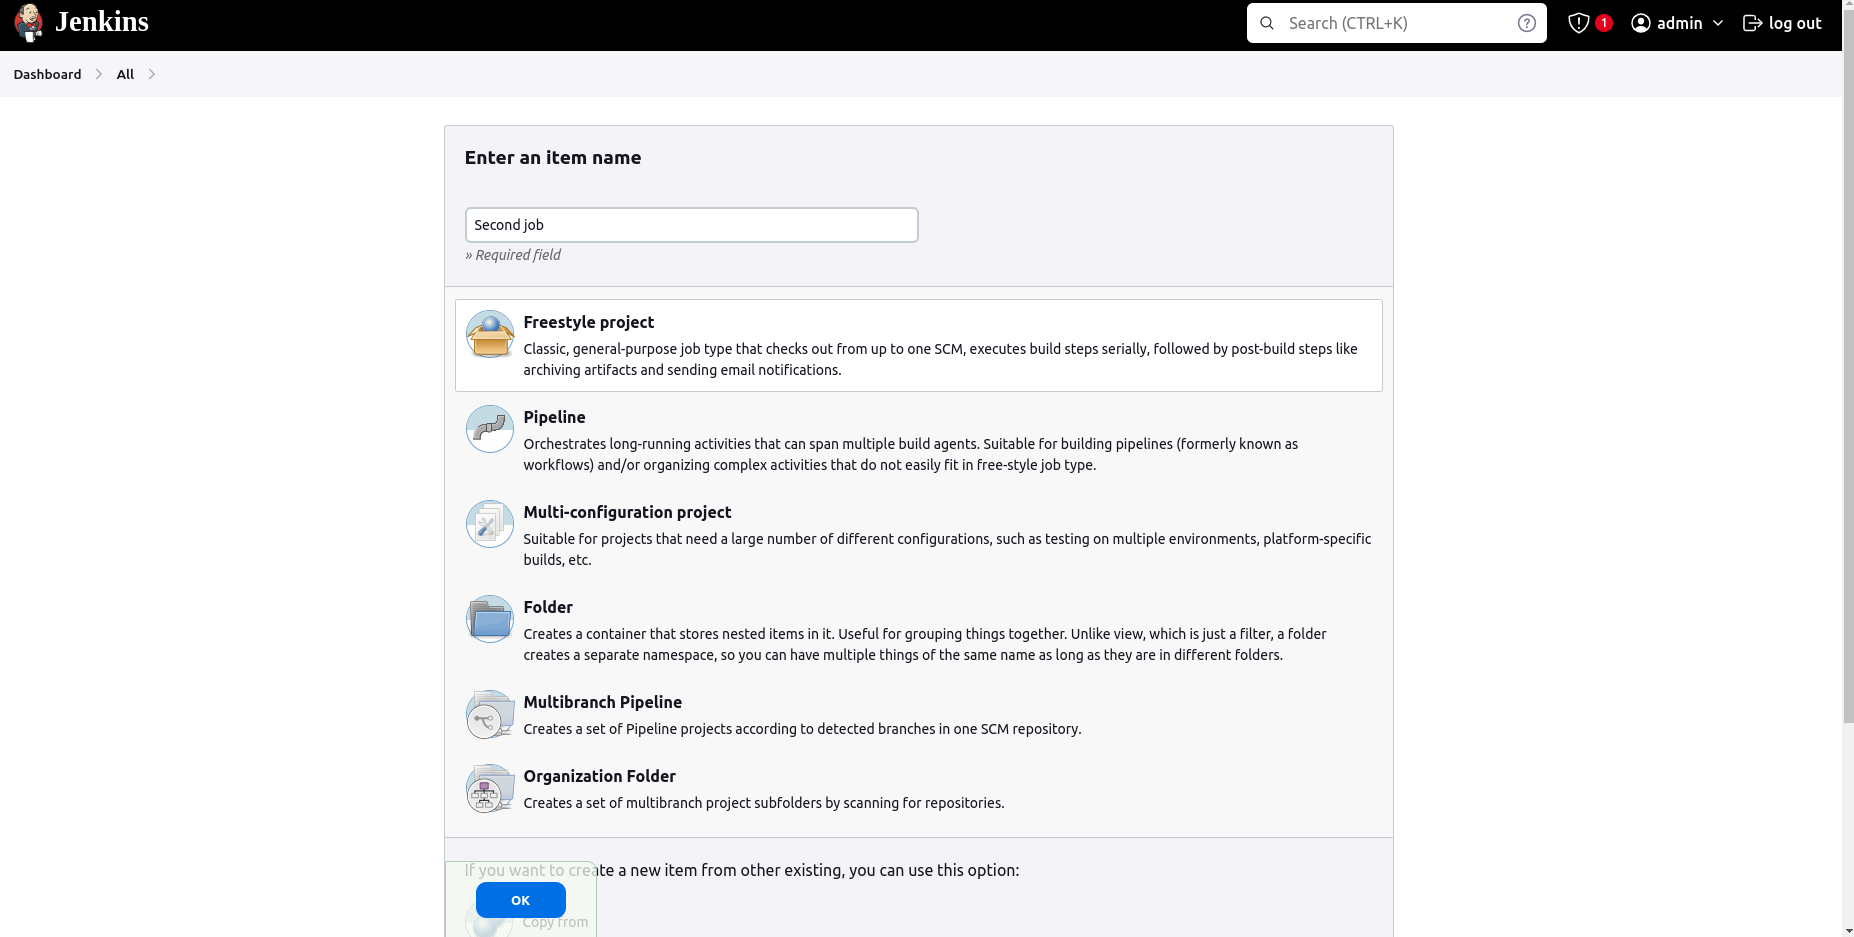
Go to dashboard click on + New item
After this it will redirect to new page Enter any custom name for now, I have given second job and then click on freestyle project and then click on OK
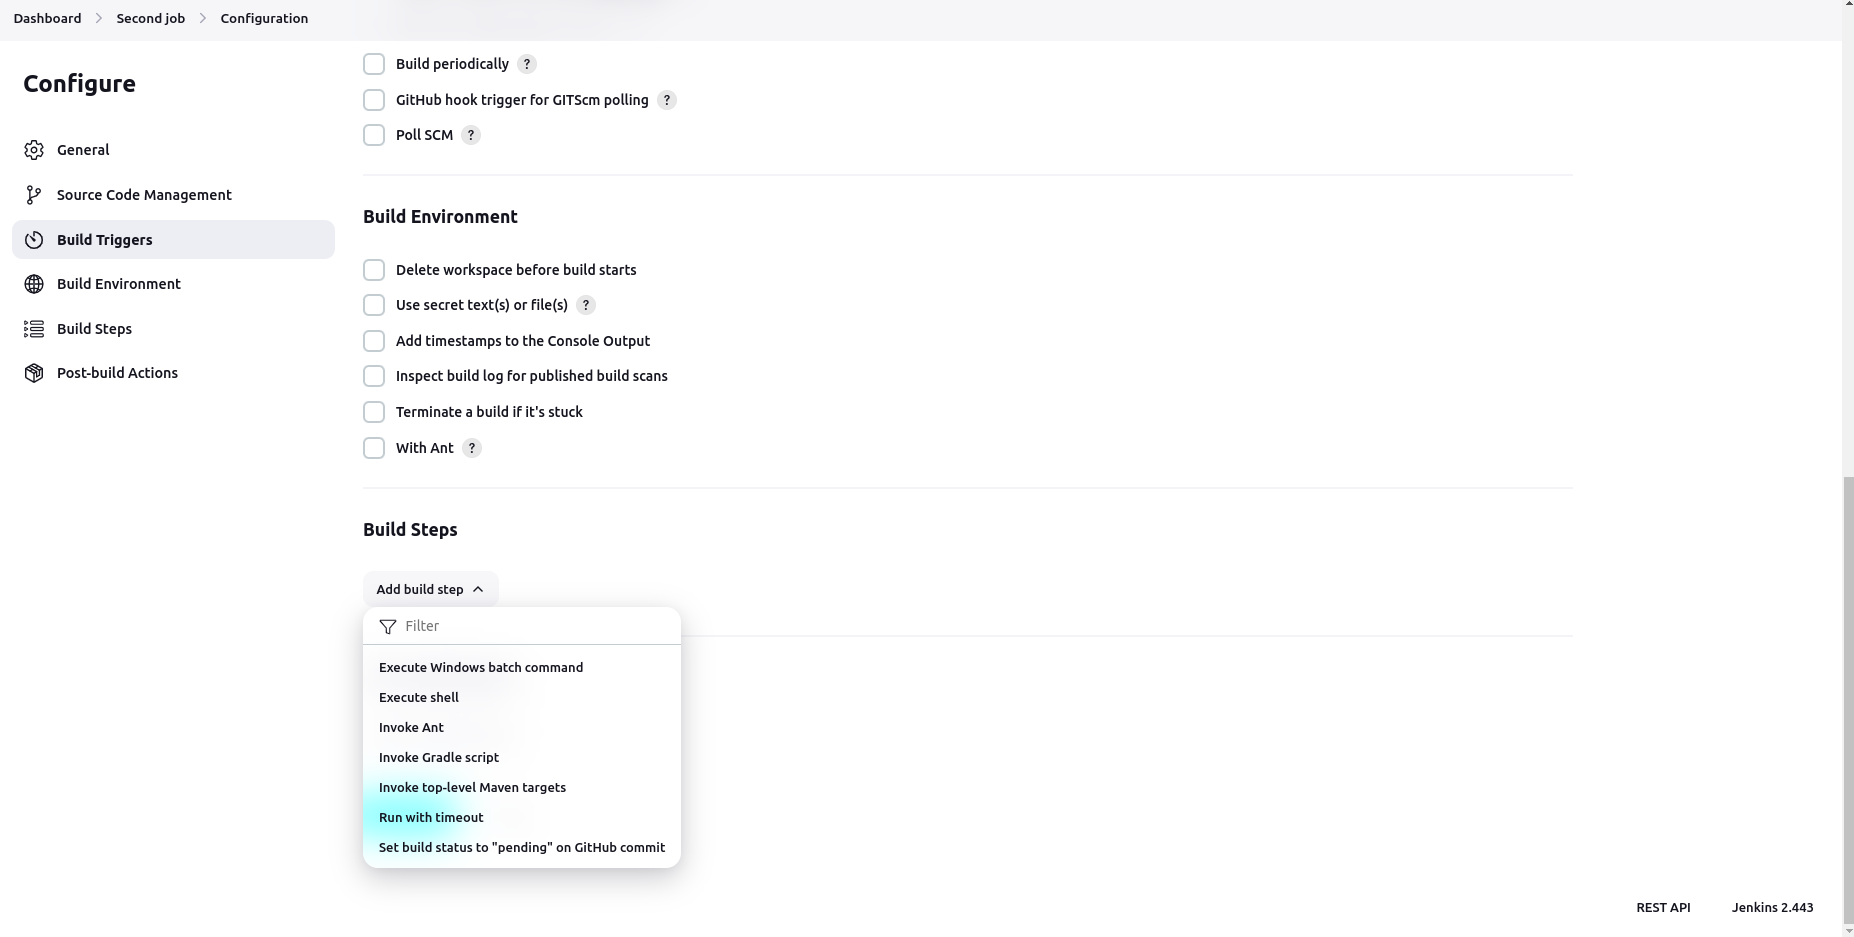
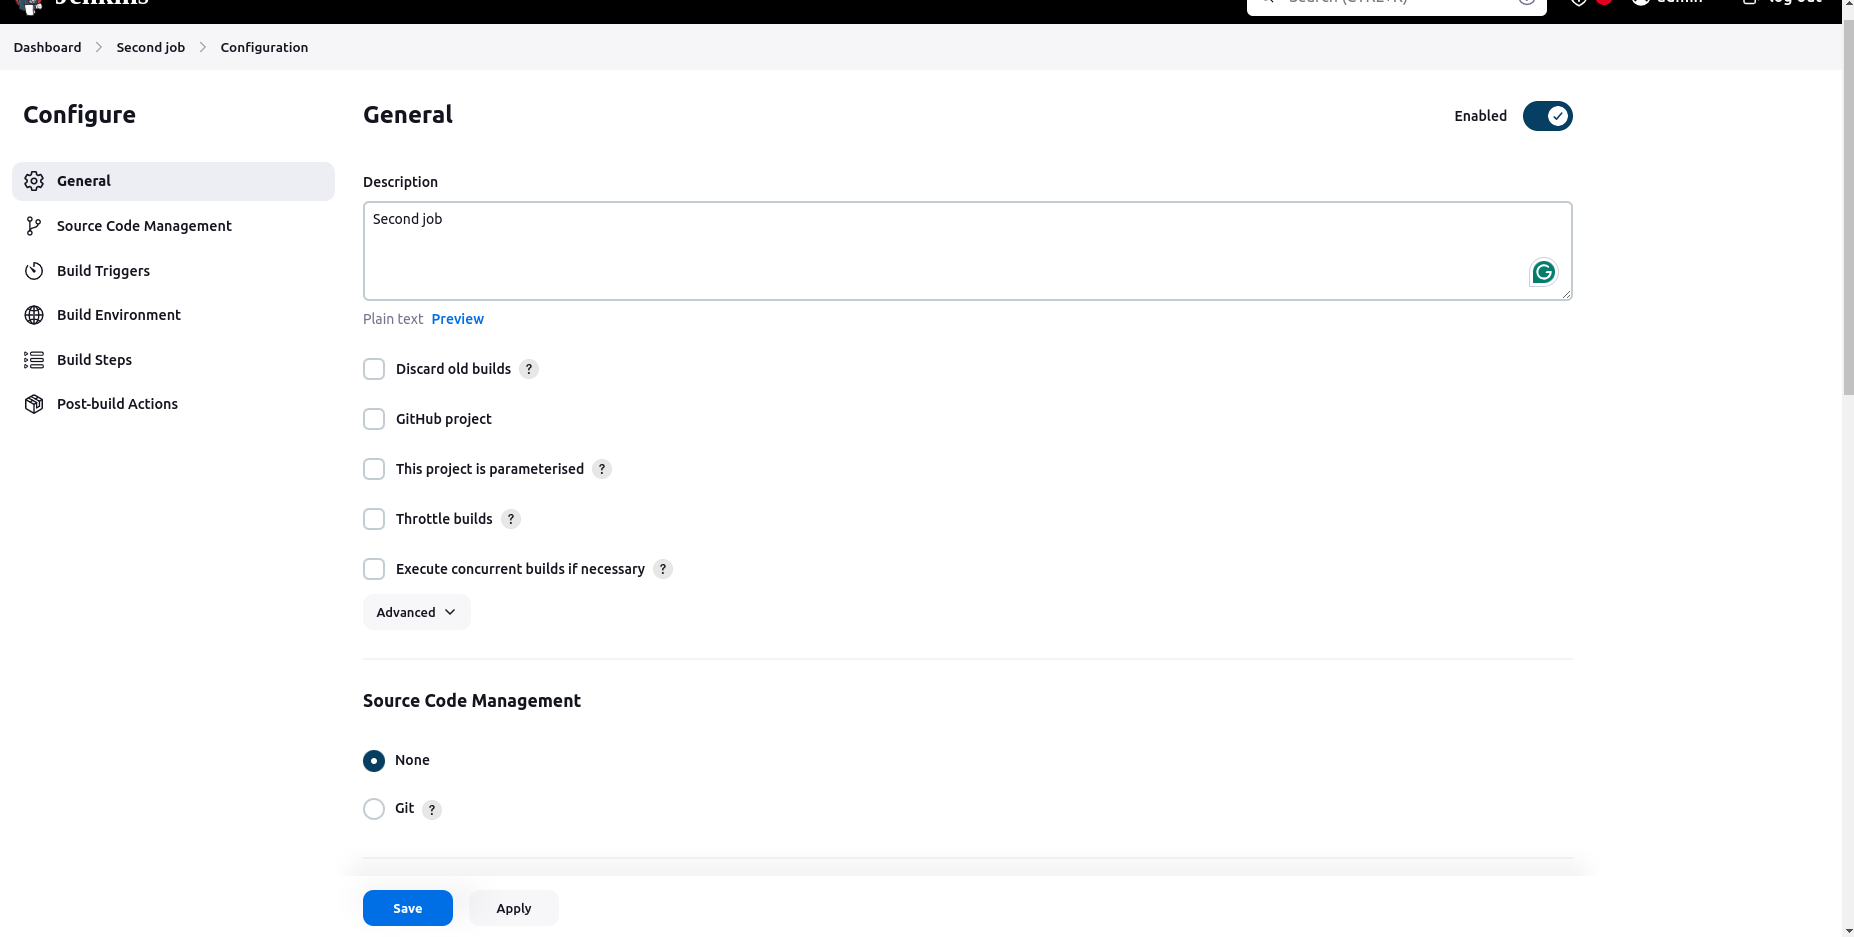
For now, you need to fill description only and on build steps choose execute
shell and write in execute shell
Echo this is second job
Click on save

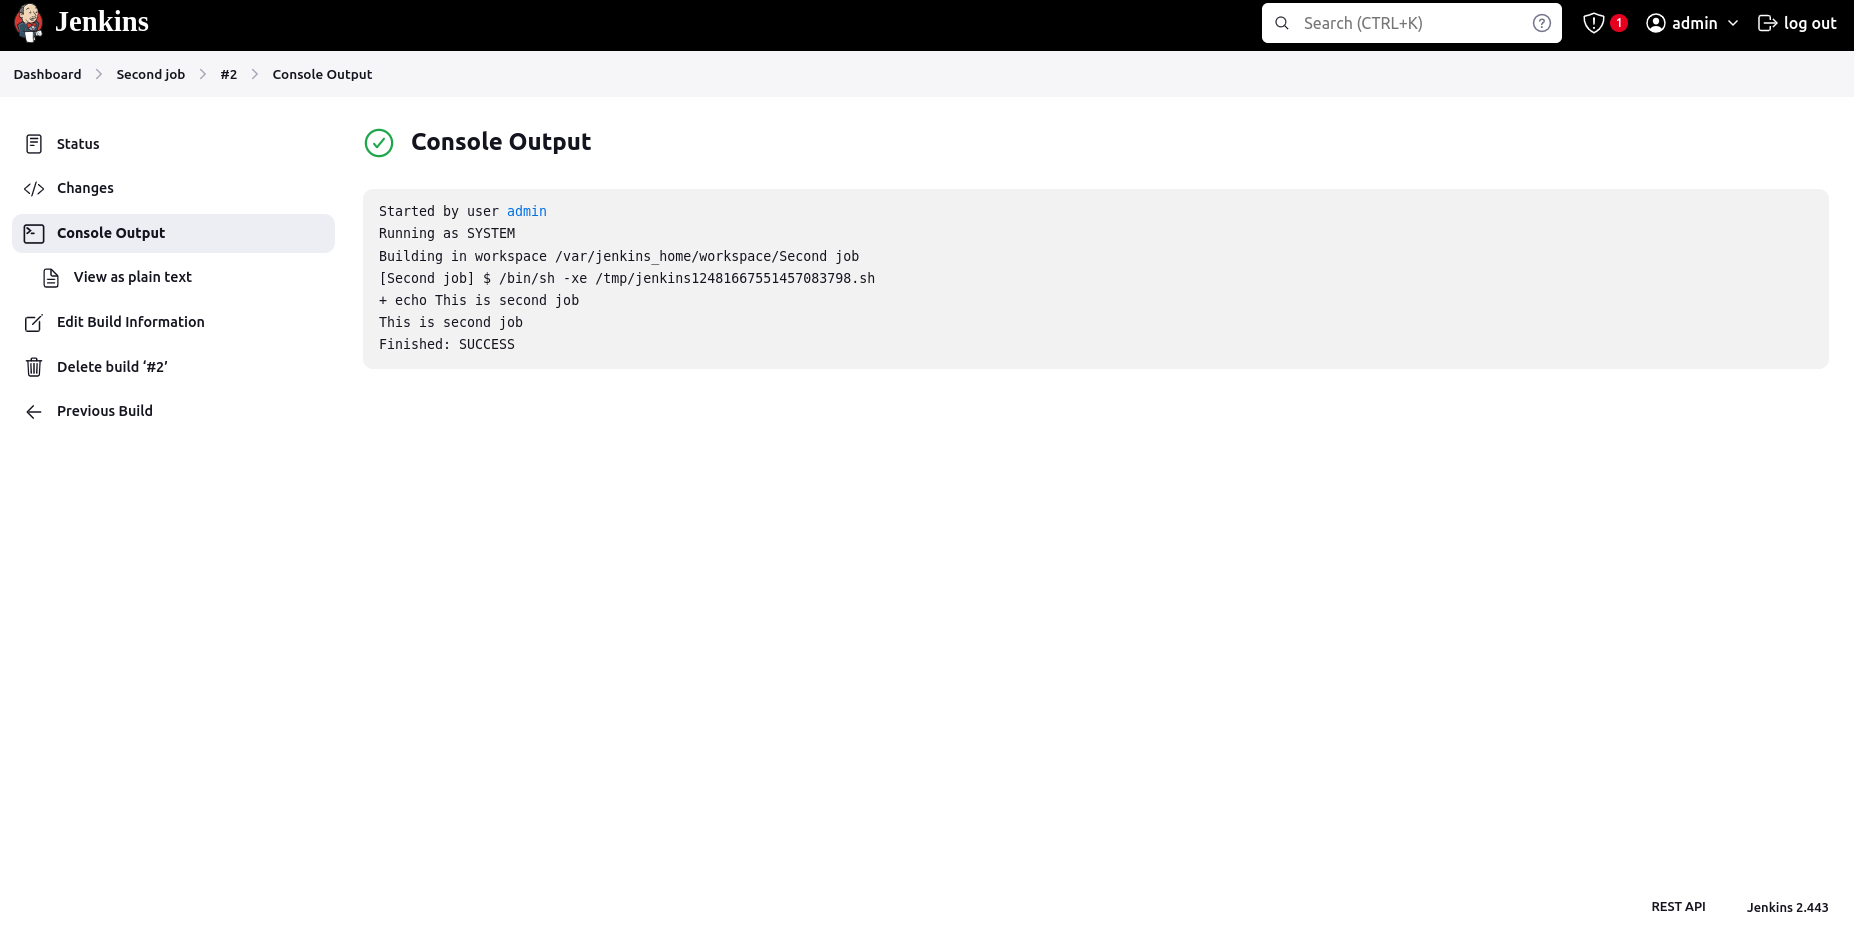
After saving it will redirect to new page and click on build now
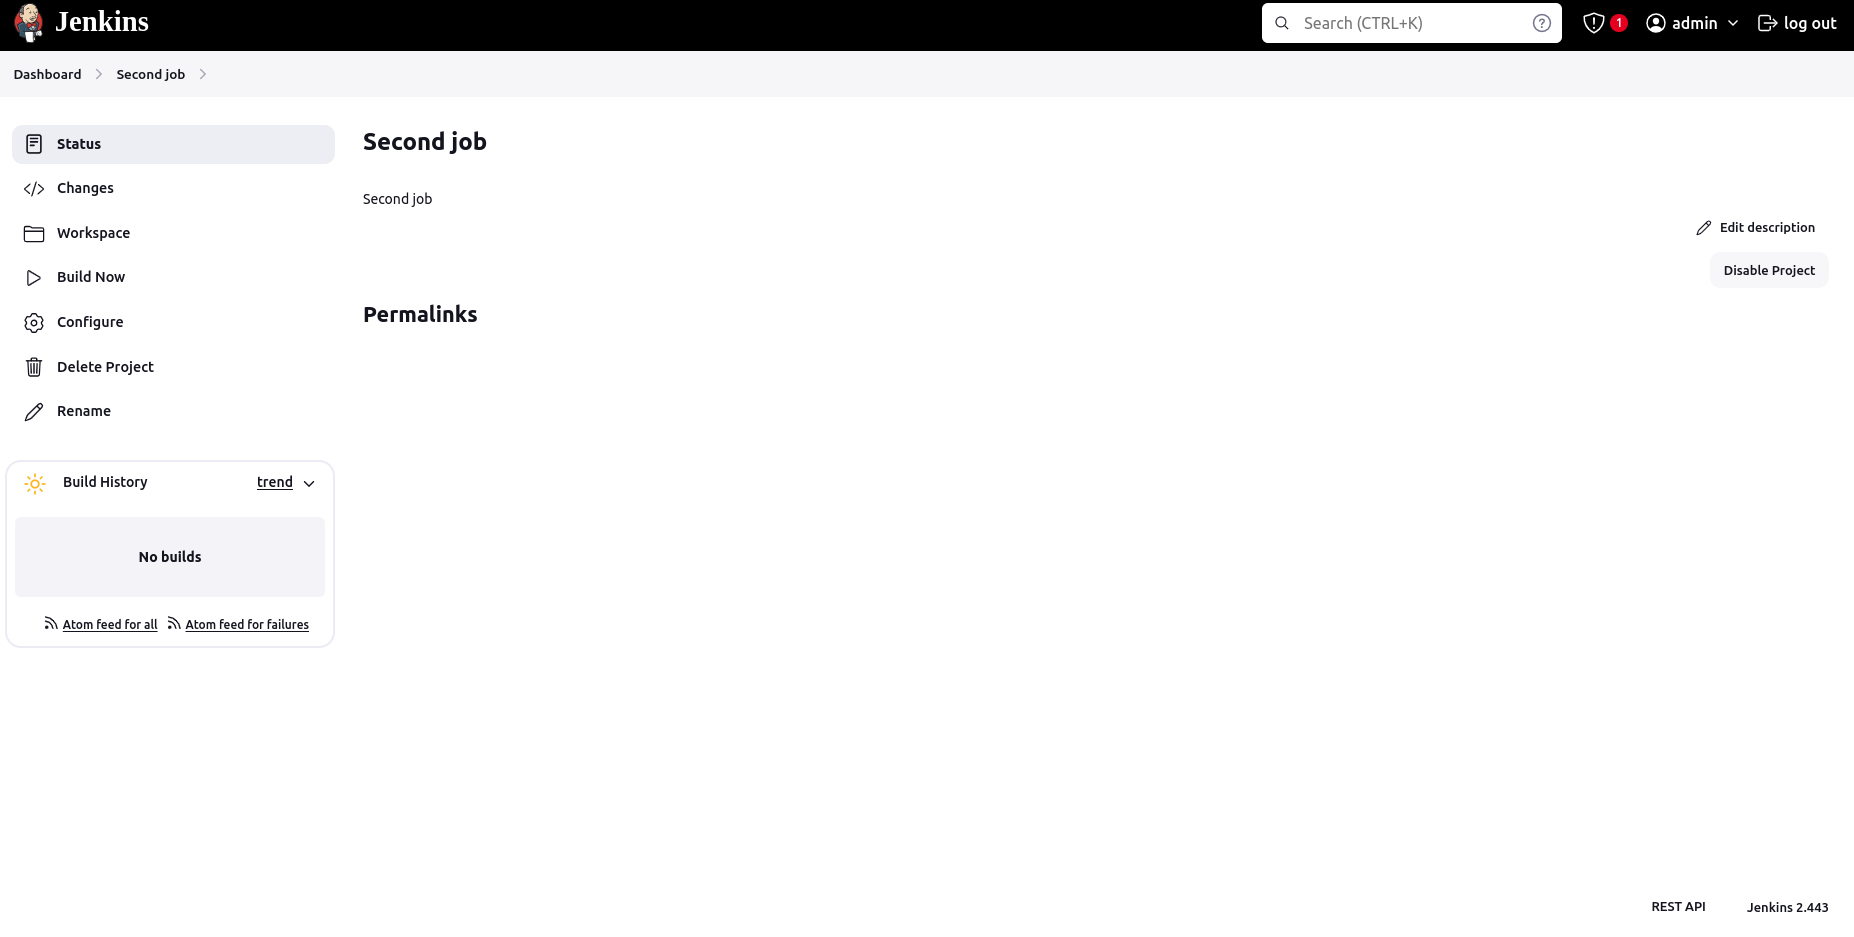
After clicking on new build id, you will be able to see the console output


aman shukla
2024-02-07