

Expertise over technologies, commitment to deadlines, experienced corporate trainers and more makes us an ideal IT solution provider to your enterprise. Isn’t it the right time to work together?
Step 1 – Install MySQL
# sudo apt-get update

# sudo apt-get install mysql-server

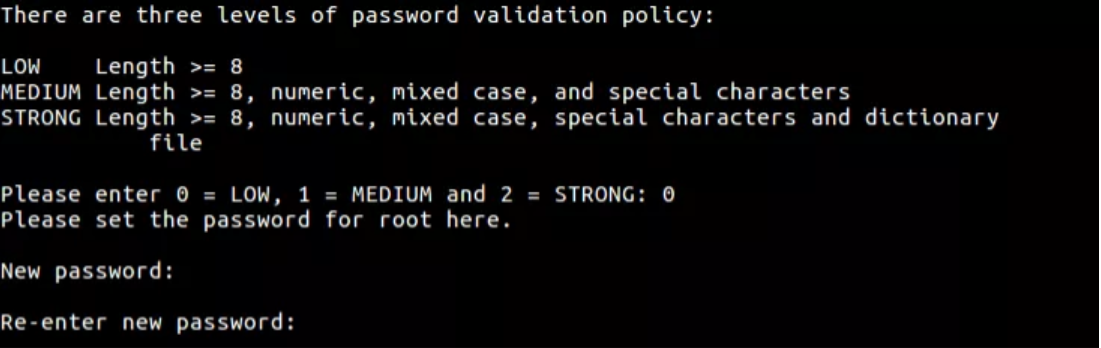
Step 2 – Configuring MySQL
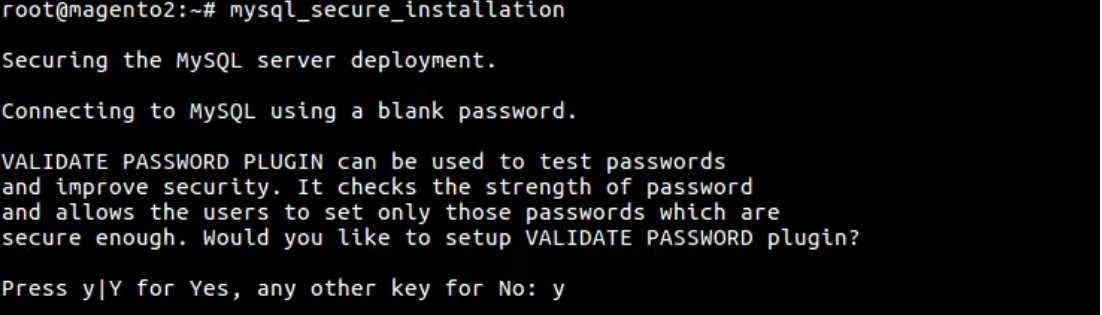
Enter a three level of password validation and also given a root password:
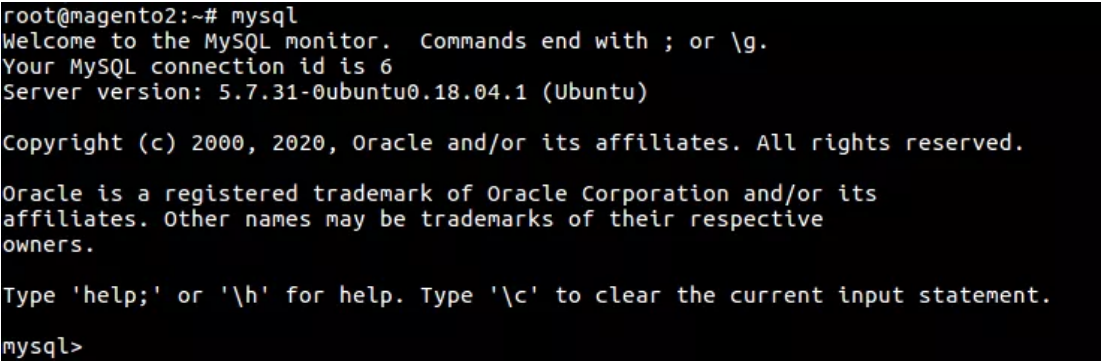
# sudo mysql
Step 3 – Create a MySQL User
Creating a new user and give it a strong password.
mysql> CREATE USER ‘magento’@’localhost’ IDENTIFIED BY ‘magento123’;

You could grant the user privileges to all tables within the database, as well as the power to add, change, and remove user privileges, with this command.
mysql> GRANT ALL PRIVILEGES ON *.* TO ‘magento’@’localhost’ WITH GRANT OPTION;

mysql> FLUSH PRIVILEGES;

mysql> exit;
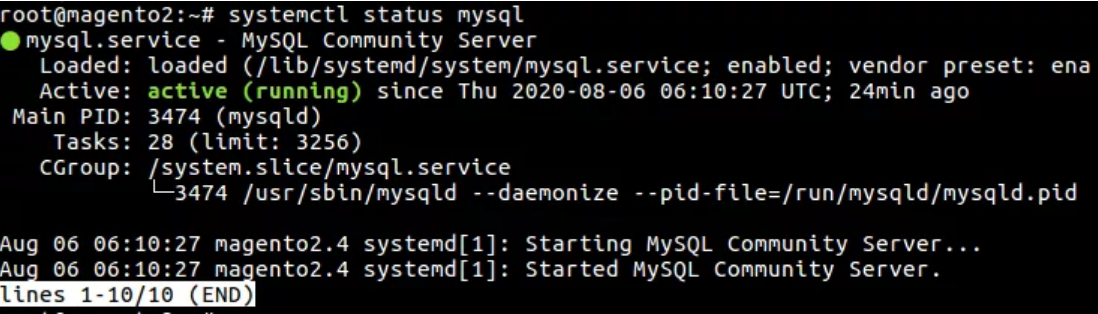
Step 4 – Testing MySQL
# sudo systemctl status mysql


bluethinkinc_blog
2022-07-11