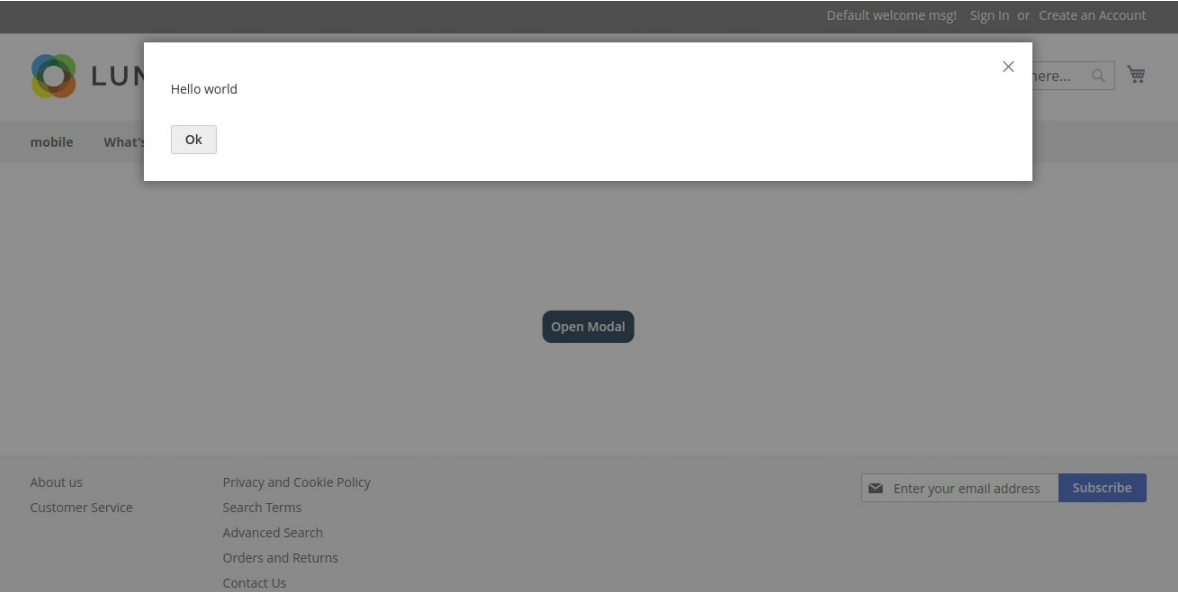
In this article we’ll learn how to create pop-up modal in Magento 2.
What is Modal :
According to devdocs, The Magento modal widget implements a secondary window that opens
on top of the main window. It contains the overlay and modal content.
To create a popup modal in Magento 2, follow the below steps:
Step 1: Firstly, we need to create a “registration.php” file inside
app/code/[vendor_name]/[module_name].
app\code\BluethinkInc\PopUp
Now, add the below code as mentioned below
|
1 2 3 4 5 6 7 |
<?php declare(strict_types=1); use \Magento\Framework\Component\ComponentRegistrar; ComponentRegistrar::register(ComponentRegistrar::MODULE, 'BluethinkInc_PopUp', __DIR__); |
Step 2: After that, we need to create a “module.xml” file inside the etc directory of our extension
app\code\BluethinkInc\PopUp\etc
And add the below code
|
1 2 3 |
<config xmlns:xsi="http://www.w3.org/2001/XMLSchema-instance" xsi:noNamespaceSchemaLocation="urn:magento:framework:Module/etc/module.xsd"> <module name="BluethinkInc_PopUp" setup_version="1.0.0"/> </config> |
Step 3: After that, we need to create a “routes.xml” file inside etc/frontend directory of our module
app\code\BluethinkInc\PopUp\etc\frontend
And add the below-mentioned code
|
1 2 3 4 5 6 7 8 9 |
<?xml version="1.0" ?> <config xmlns:xsi="http://www.w3.org/2001/XMLSchema-instance" xsi:noNamespaceSchemaLocation="urn:magento:framework:App/etc/routes.xsd"> <router id="standard"> <route frontName="modal" id="modal"> <module name="BluethinkInc_PopUp"/> </route> </router> </config> |
Step 4: First, we need to create an “modal_index_index.xml” file inside the module at the following
path
app\code\BluethinkInc\PopUp\view\frontend\layout
Now, add the code as follows
|
1 2 3 4 5 6 7 8 9 |
<?xml version="1.0"?> <page xmlns:xsi="http://www.w3.org/2001/XMLSchema-instance" layout="1column" xsi:noNamespaceSchemaLocation="urn:magento:framework:View/Layout/etc/page_configuration.xsd"> <head> <css src="BluethinkInc_PopUp::css/custom.css" /> </head> <referenceContainer name="content"> <block class="Magento\Framework\View\Element\Template" name="modal-popup" template="BluethinkInc_PopUp::modal_popup.phtml"/> </referenceContainer> </page> |
Also, need to create a “Index.php” file inside the module at the following path
app\code\BluethinkInc\PopUp\Controller\Index
And add the code as follows
|
1 2 3 4 5 6 7 8 9 10 11 12 13 14 |
<?php namespace BluethinkInc\PopUp\Controller\Index; use Magento\Framework\App\Action\Action; use Magento\Framework\Controller\ResultFactory; class Index extends Action { public function execute() { return $this->resultFactory->create(ResultFactory::TYPE_PAGE); } } |
Step 5: After that, we need to create a “ modal_popup.phtml” file inside the module on the
following path.
app\code\BluethinkInc\PopUp\view\frontend\templates
Finally, add the below code
|
1 2 3 4 5 6 7 8 |
<div id="modal-content"> <?php echo "Hello world" ?> </div> <div class="modal-div"> <button id="modal-button" data-mage-init='{"popup-modal": {"target": "#modal-content"}}'> Open Modal </button> </div> |
Step 6: We naeed to create a “requirejs-config.js” file inside the module on the following path
app\code\BluehtinkInc\PopUp\view\frontend
Add the below code
|
1 2 3 4 5 6 |
var config = { map: { '*': { 'popup-modal': 'BluethinkInc_PopUp/js/popup-modal' } } |
Step 7: After that, we need to create a “popup-modal.js” file inside the module on the following path
app\code\BluethinkInc\PopUp\view\frontend\web\js
and add the below code
|
1 2 3 4 5 6 7 8 9 10 11 12 13 14 15 16 17 18 |
define([ "jquery", "Magento_Ui/js/modal/modal" ], function($){ var ExampleModal = { initModal: function(config, element) { $target = $(config.target); $target.modal(); $element = $(element); $element.click(function() { $target.modal('openModal'); }); } }; return { 'popup-modal': ExampleModal.initModal }; } ); |
Successfully performing the above steps, will show the Custom Popup window

Thanks for reading my blog. I hope you would learn a lot of things from this blog. Keep liking
and sharing!!


bluethinkinc_blog
2023-02-10