
If youʼve been looking to supercharge your Power Apps by building custom components, then creating a Power Apps Component Framework PCF control is the way to go. In this blog, weʼll break down the steps to build a PCF control using React, from setting up your environment to deploying it into your Microsoft Dataverse. Letʼs dive in!
Prerequisites
Before we begin, make sure you have the following tools and knowledge:
-
Node.js:(Get it here)-Essential for running JavaScript-based projects.

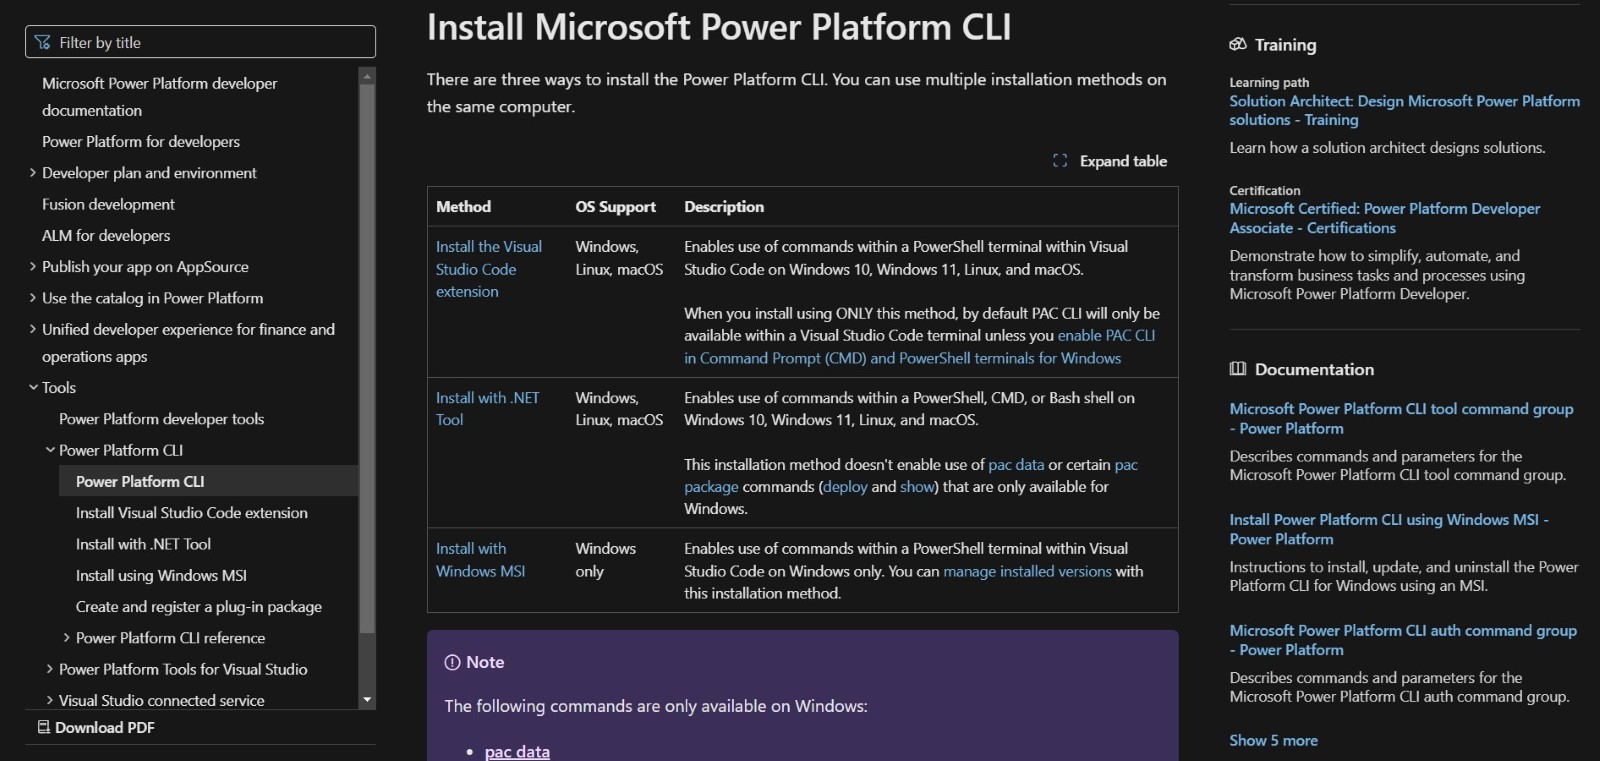
- Power Platform CLI (How to install) – This will help you create and manage your PCF projects.
- Visual Studio Code(Download) – A fantastic code editor for this kind of work.
- A basic understanding of JavaScript, React, and Microsoft Dataverse (Learn about Dataverse).
Step 1: Setting Up Your Environment
First things first – get your tools ready:
- Install Node.js from the official site.
- Install Power Platform CLI by following the instructions on Microsoftʼs documentation.
- Download and install Visual Studio Code or any of your preferred Ide (right here).
Step 2:Creating a New PCF Control
With everything set up, letʼs create our first PCF control:
- Open your terminal (or command prompt) and navigate to the folder where you want to create your project.
- Use this command to initialize a new control:3
- Move into your new project folder
- Install dependencies by running:
|
1 |
pac pcf init --namespace <Namespace> --name <ControlName> --template field |
Replace
|
1 |
cd <ControlName> |
|
1 |
npm install |
Youʼre now ready to start coding!
screenshot of terminal output showing successful control creation

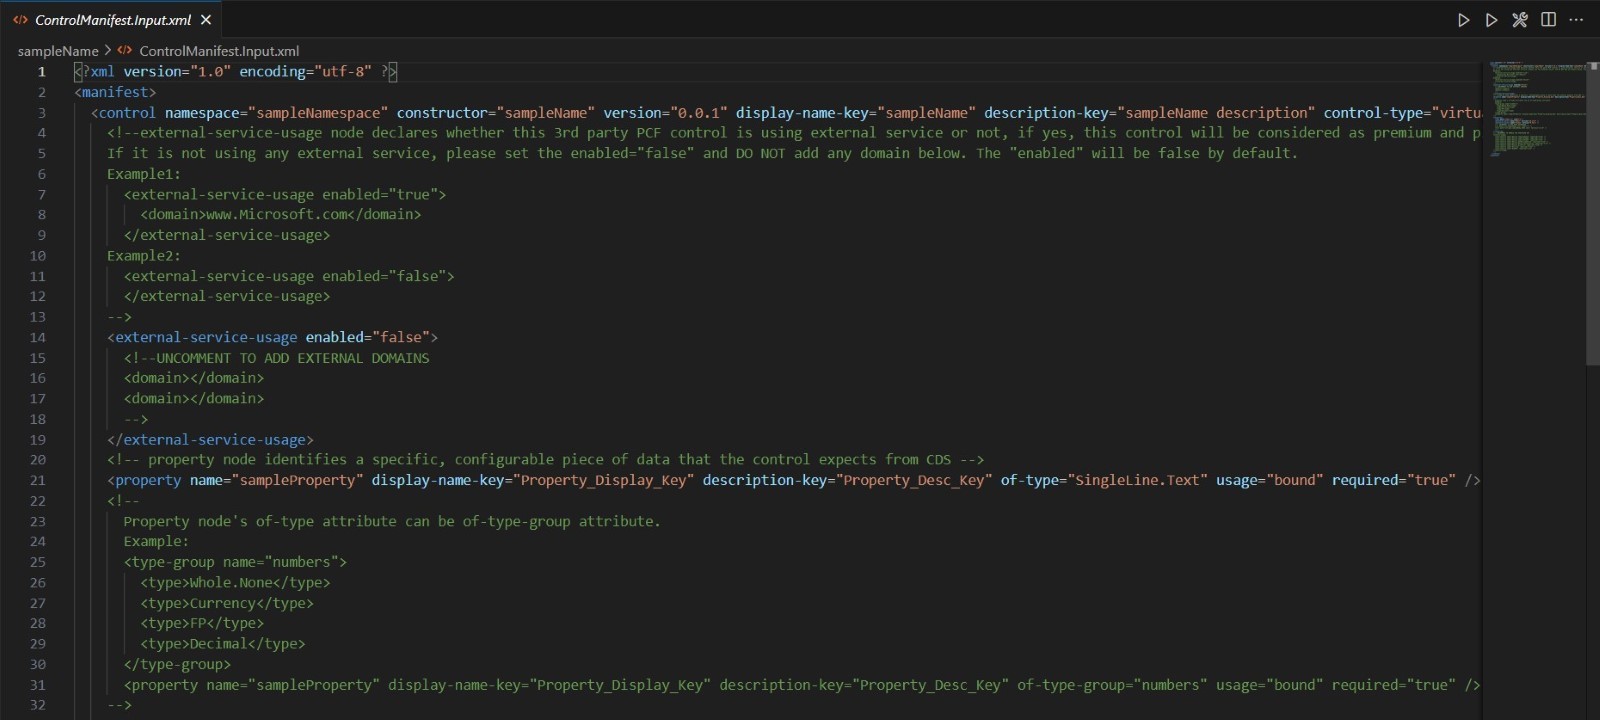
Step 3: Configuring the Control Manifest
Every PCF control has a ControlManifest.Input.xml file that tells Power Apps what your control can do.
- Add custom properties inside the
tag: -
Add any JavaScript or CSS files your control needs inside the
tag: 12345<resources><code type="JavaScript" path="index.js" /><code type="React" path="node_modules/react/umd/react.development.js" /><code type="ReactDOM" path="node_modules/react-dom/umd/react-dom.development.js" /></resources>
|
1 |
<property name="SampleProperty" type="SingleLine.Text" required="false" /> |
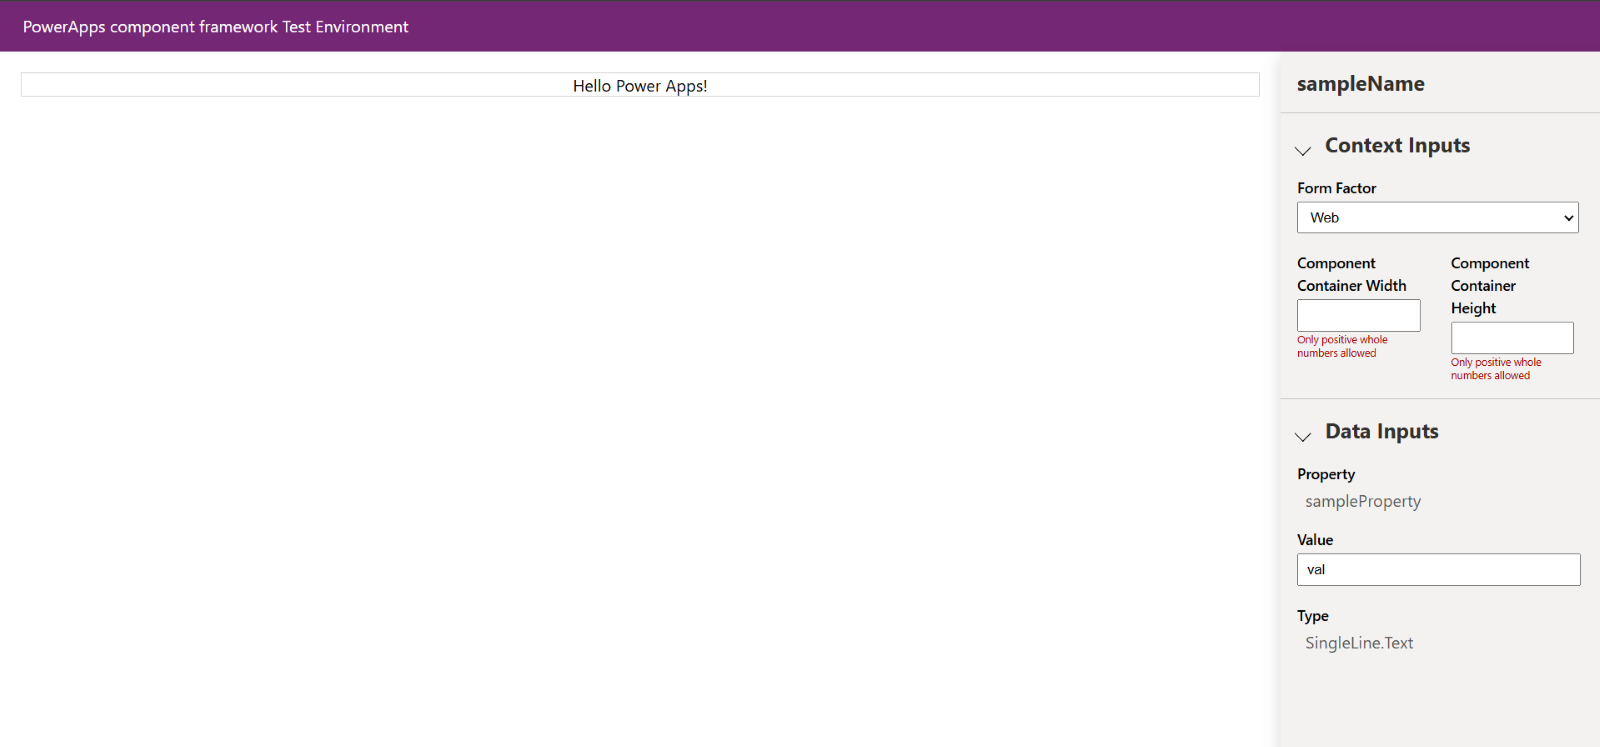
screenshot of ControlManifest.Input.xml file.
Step 4: Developing Your PCF Control
Now for the fun part – coding! Youʼll access properties using the context parameter:
- Hereʼs how to get a property value:
- Use React to create a component:
- Render your component in the control:
|
1 |
const propertyValue =context.parameters.SampleProperty.raw; |
|
1 |
const MyComponent = ({ propertyValue }) => {return <div>{propertyValue}</div>;}; |
|
1 |
ReactDOM.render(<MyComponent propertyValue={context.parameters.SampleProperty.raw} />,this.container); |
screenshot of code editor showing React component and rendering logic.

Step 5: Implementing Lifecycle Methods
- init – Sets up the control:
- updateView-Called whenever data changes:
- getOutputs-Sends data back to Dataverse:
- destroy-Cleans up resources:
|
1 2 3 |
init(context, notifyOutputChanged, state, container) {this.container = container; this.notifyOutputChanged = notifyOutputChanged; } |
|
1 2 3 4 5 6 7 |
updateView(context) { ReactDOM.render( <MyComponent propertyValue={context.parameters.Sam pleProperty.raw} />, this.container ); } |
|
1 2 3 |
getOutputs() { return { SampleProperty: this.updatedValue }; } |
|
1 2 3 |
destroy() { ReactDOM.unmountComponentAtNode(this.container); } |
screenshot of lifecycle methods implementation in the code.

Step 6: Building and Testing
When youʼre ready to test your control:
- Build it by running:
- Use the local test harness:
|
1 |
npm run build |
|
1 |
npm start |
screenshot showing the test harness running the control.

Step 7: Packaging Your Solution
To use your control in Power Apps:
- Create a Folder:
- Change directory to your solution:
- Initialize a solution:
- Add your control to the solution:
|
1 |
mkdir solution |
|
1 |
cd solution |
|
1 |
pac solution init --publisher-name <PublisherName> --publisher-prefix <Prefix> |
|
1 |
pac solution add-reference --path <ControlPath> |
Need more details? Check the
screenshot of packaging process output.

Step 8: Deploying to Dataverse
Finally, letʼs deploy your masterpiece:
- Push the control to your Dataverse environment(from your pcf root folder):
- Check it out in your Power Apps – add the control to a form or view.
|
1 |
pac pcf push -pp <PublisherPrefix> |
You can find more deployment tips in
screenshot showing the control in use within Power Apps.

By following this guide, youʼve created a fully functional PCF control using React.
With a bit of creativity and practice, youʼll be able to build dynamic, customized
experiences that transform your Power Apps. Happy coding!


bluethinkinc_blog
2025-01-29